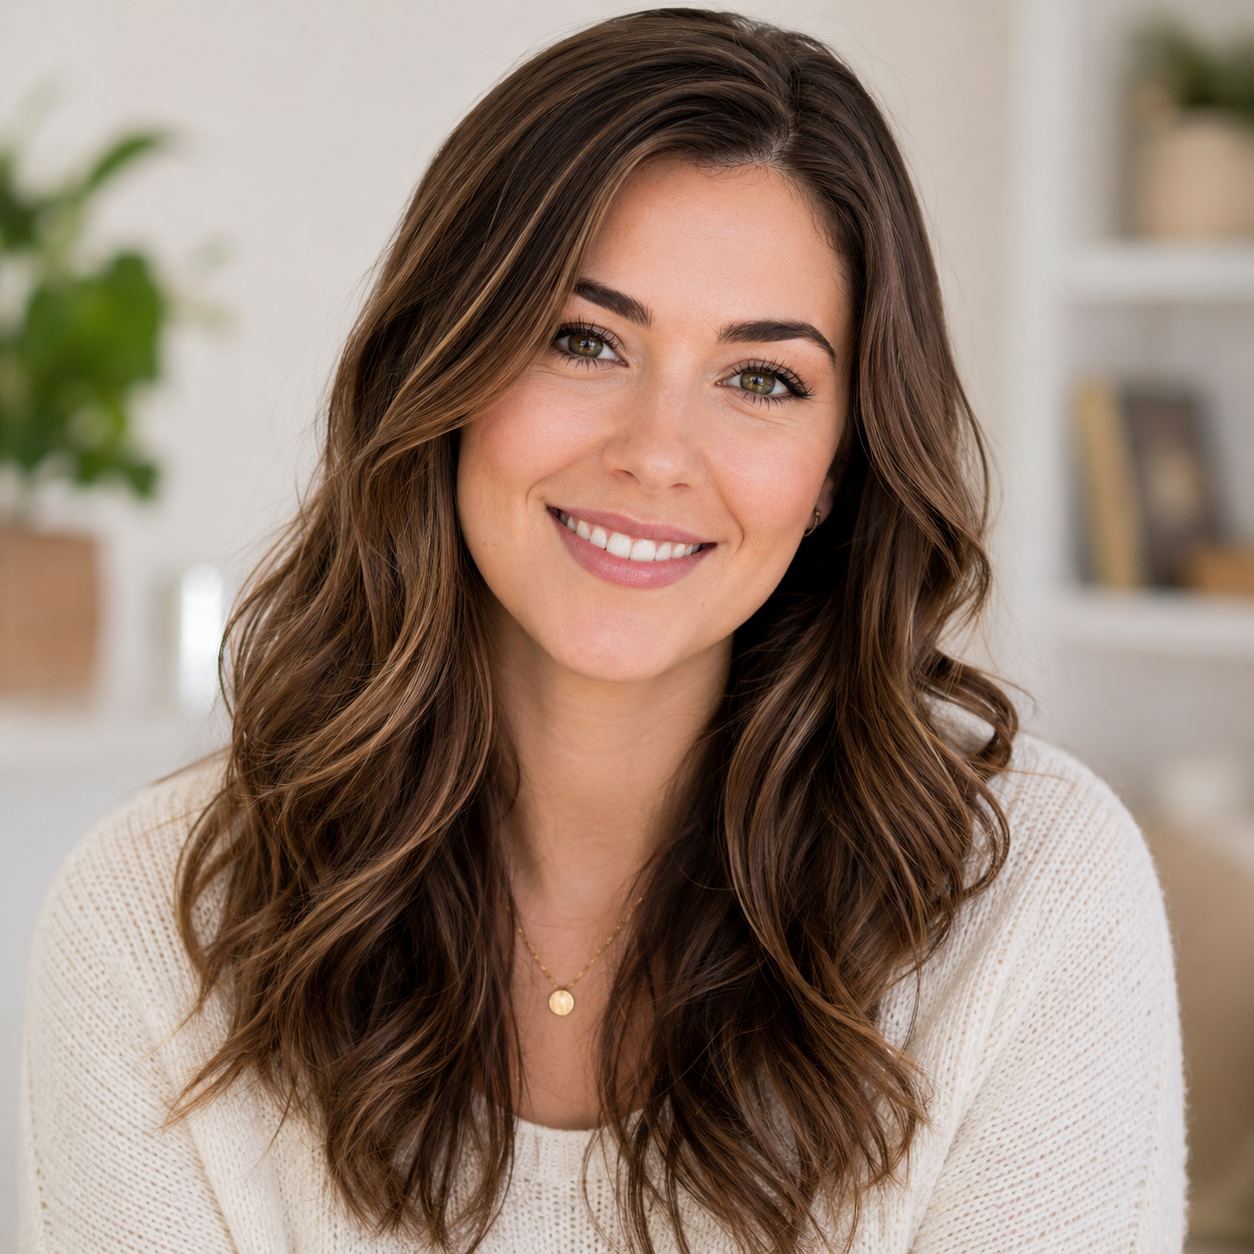
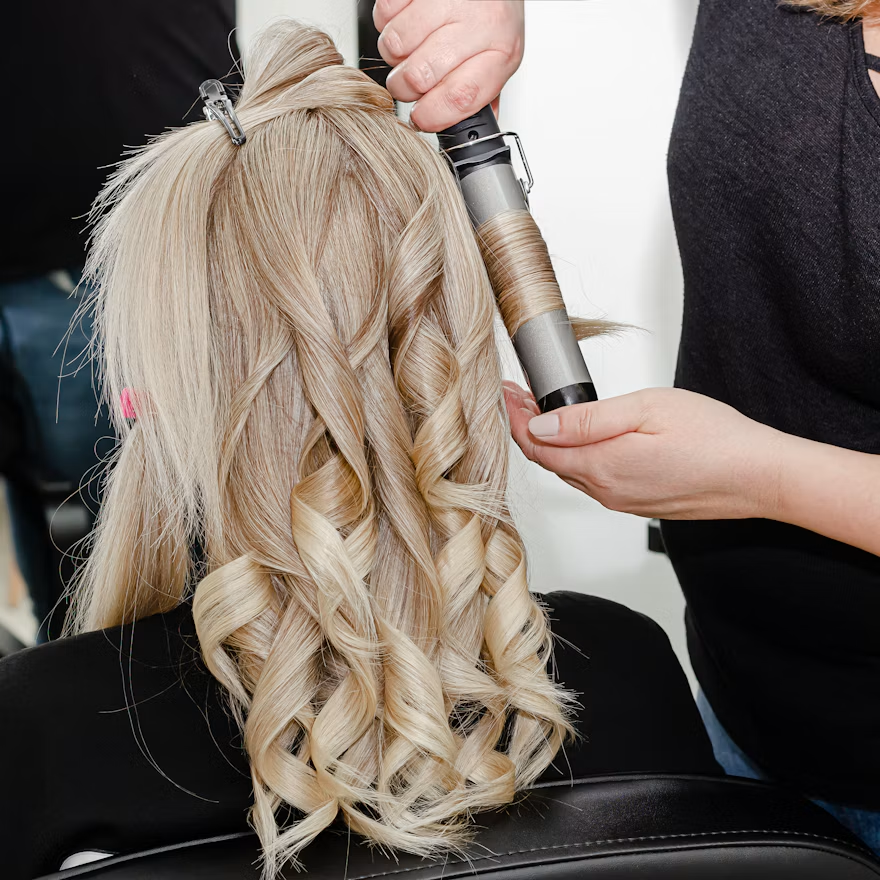
Half up, half down is the hairstyle that works pretty much anywhere. It keeps the hair off your face, it shows off your length, and it takes about five minutes. There's a version of it for pretty much any hair type, whether that's straight as a ruler, wavy, or tightly coiled.
In this comprehensive guide, you'll discover why the style works so well, which tools you should have, a full step-by-step of the classic version, six popular variations, advice for all hair textures and face shapes, ideas for all sorts of occasions, and the mistakes that most commonly ruin the look.
Why Half Up Half Down Works So Well
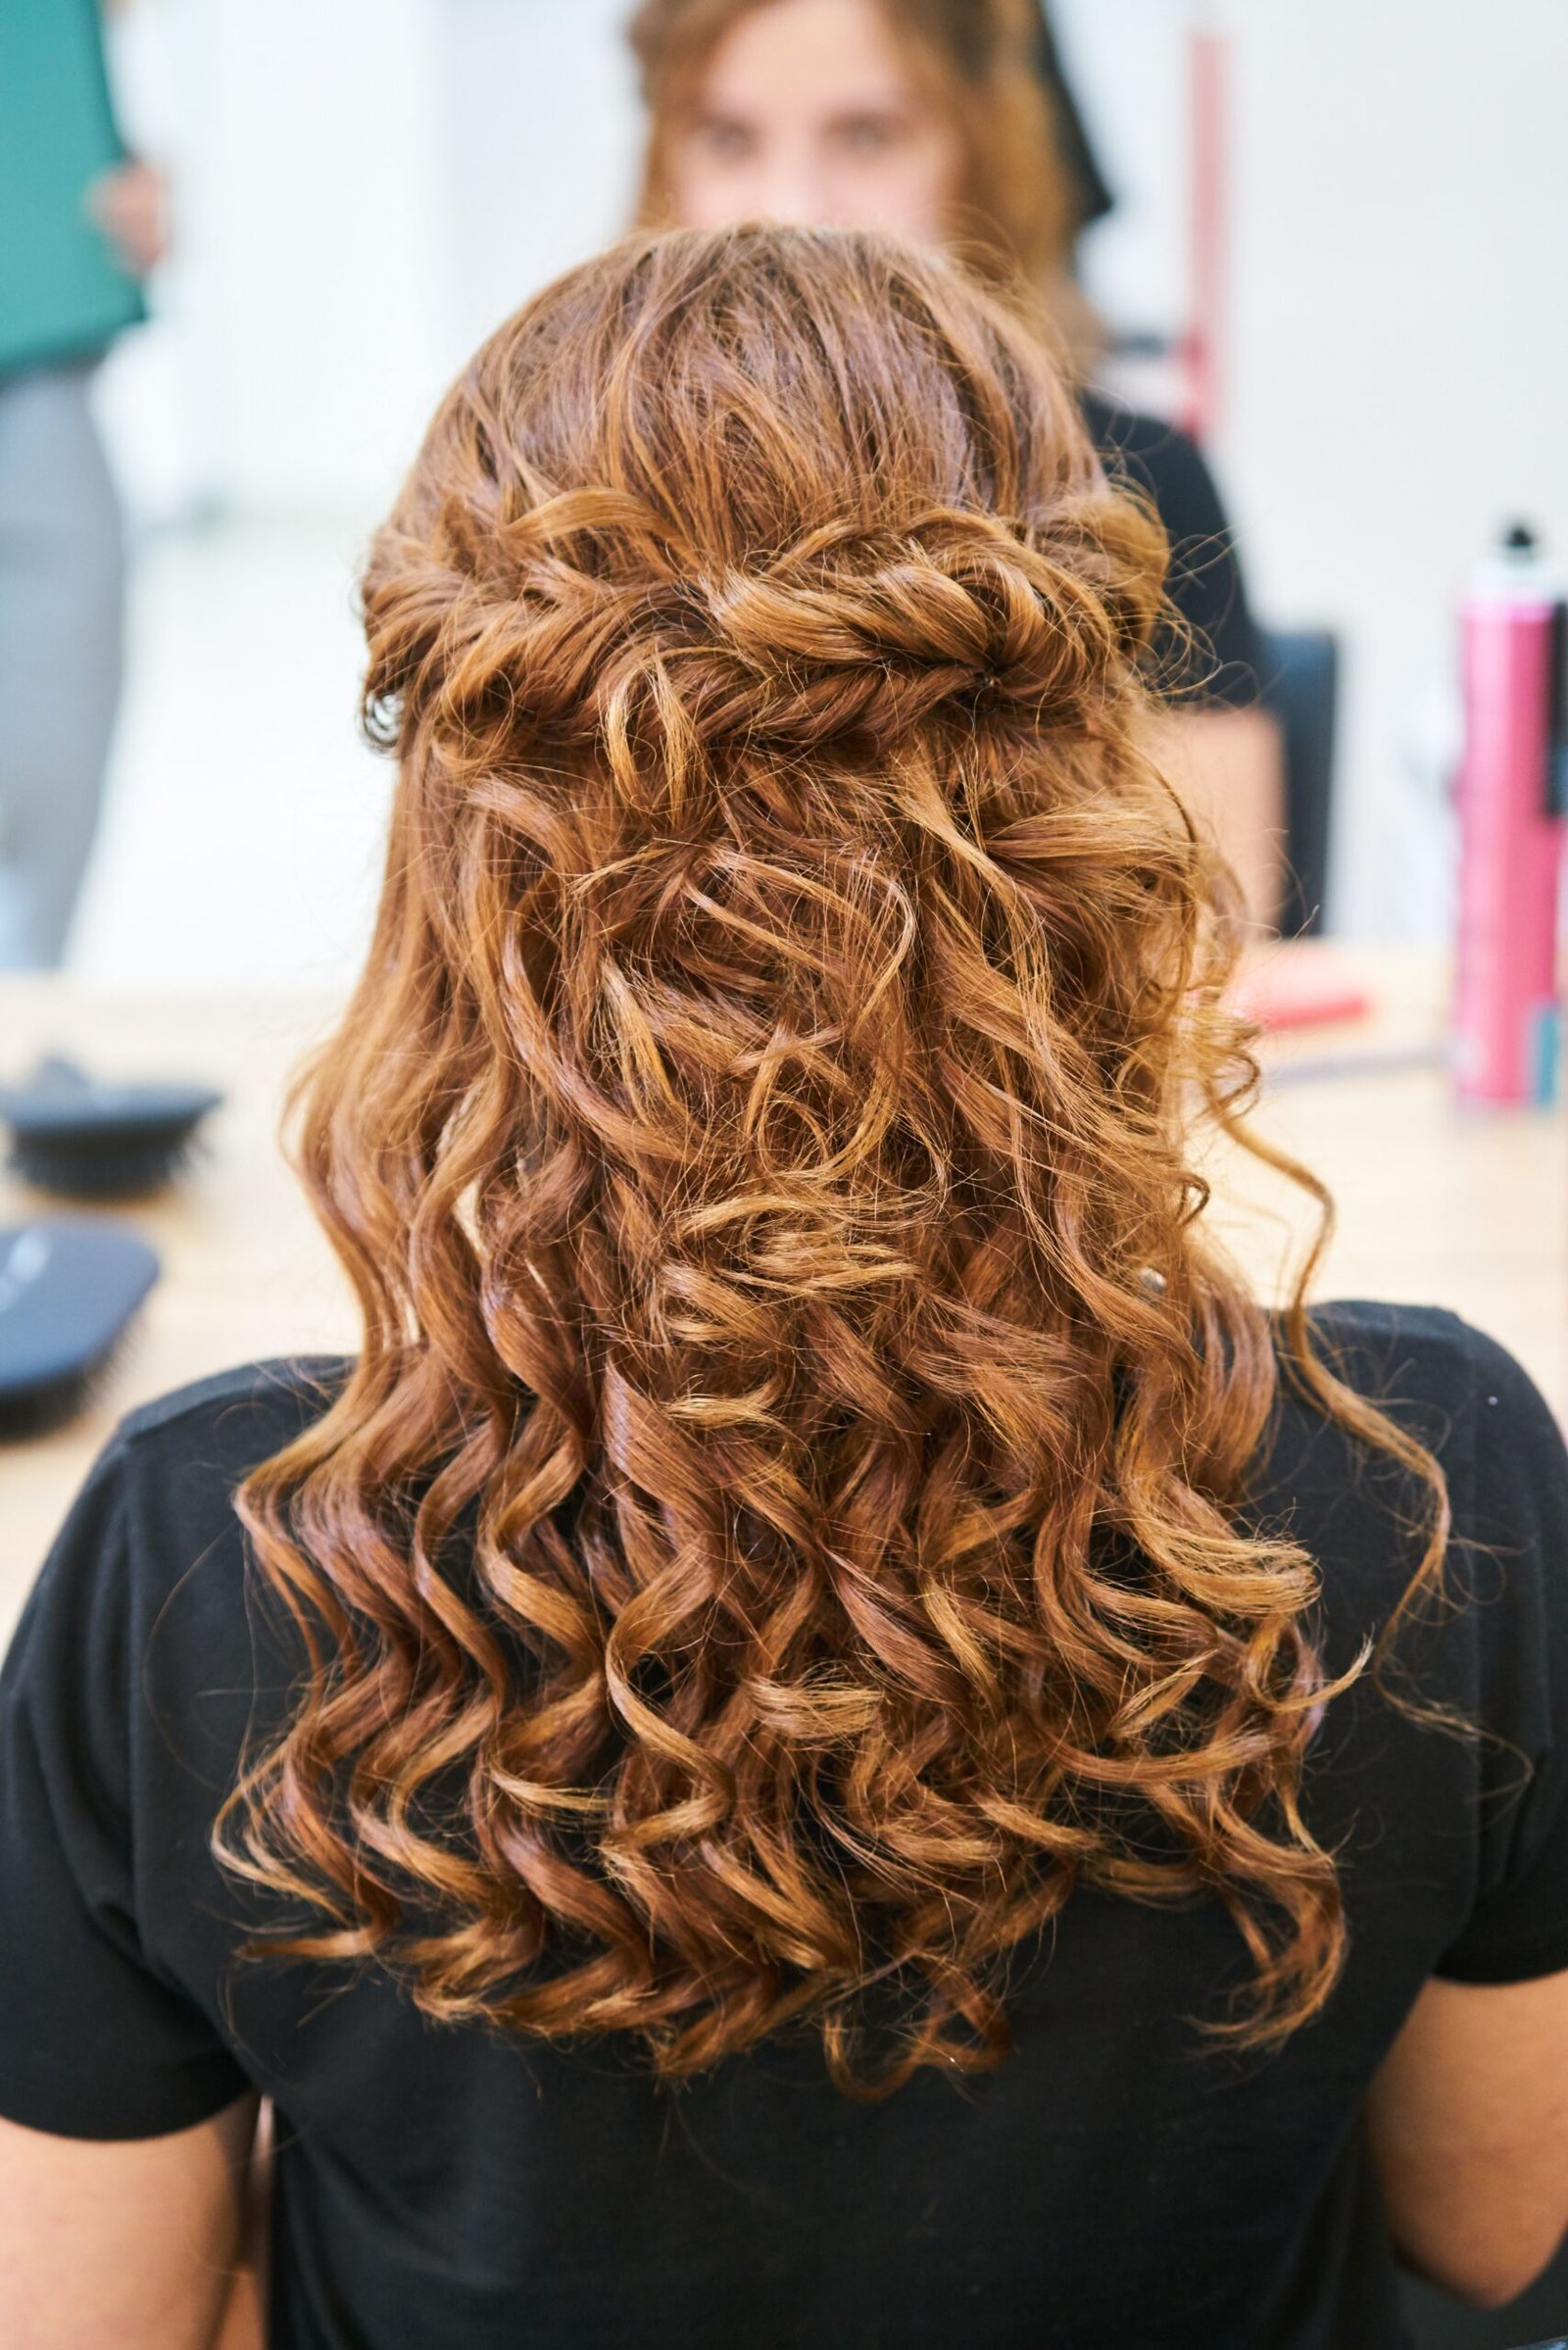
Most hairstyles are essentially a choice between the two: wear it all down and live with it falling in your face, or tie it all up and accept the loss of length. Half up half down sidesteps that dilemma entirely. The top section is neatly secured out of the way, and the lower section remains loose with all its movement, volume and length.
That balance is what has seen the style endure over the decades. You'll find it in school corridors, offices, wedding photographs and red carpet galas, and it's rarely out of place in any of those settings. A small tweak such as a more streamlined pull-back, a braid or a decorative clip is all it takes to take it from casual to formal without having to start again.
There are practical reasons too:
- It's quick. The standard version takes between two and five minutes even for a complete beginner.
- It's forgiving. A second day's growth, a slightly messy parting or a few flyaways just get absorbed into the style rather than detract from it.
- It works for pretty much everyone. Straight, wavy, curly and coily hair are all good, as are short layers and long lengths.
- It's low commitment. Most of your hair remains loose, so you can wear it without the tightness or headaches that can come with a full updo.
- It contours the face. Raising the top section opens out the face and the loose sides soften it.
Tools and Prep: Setting Yourself Up
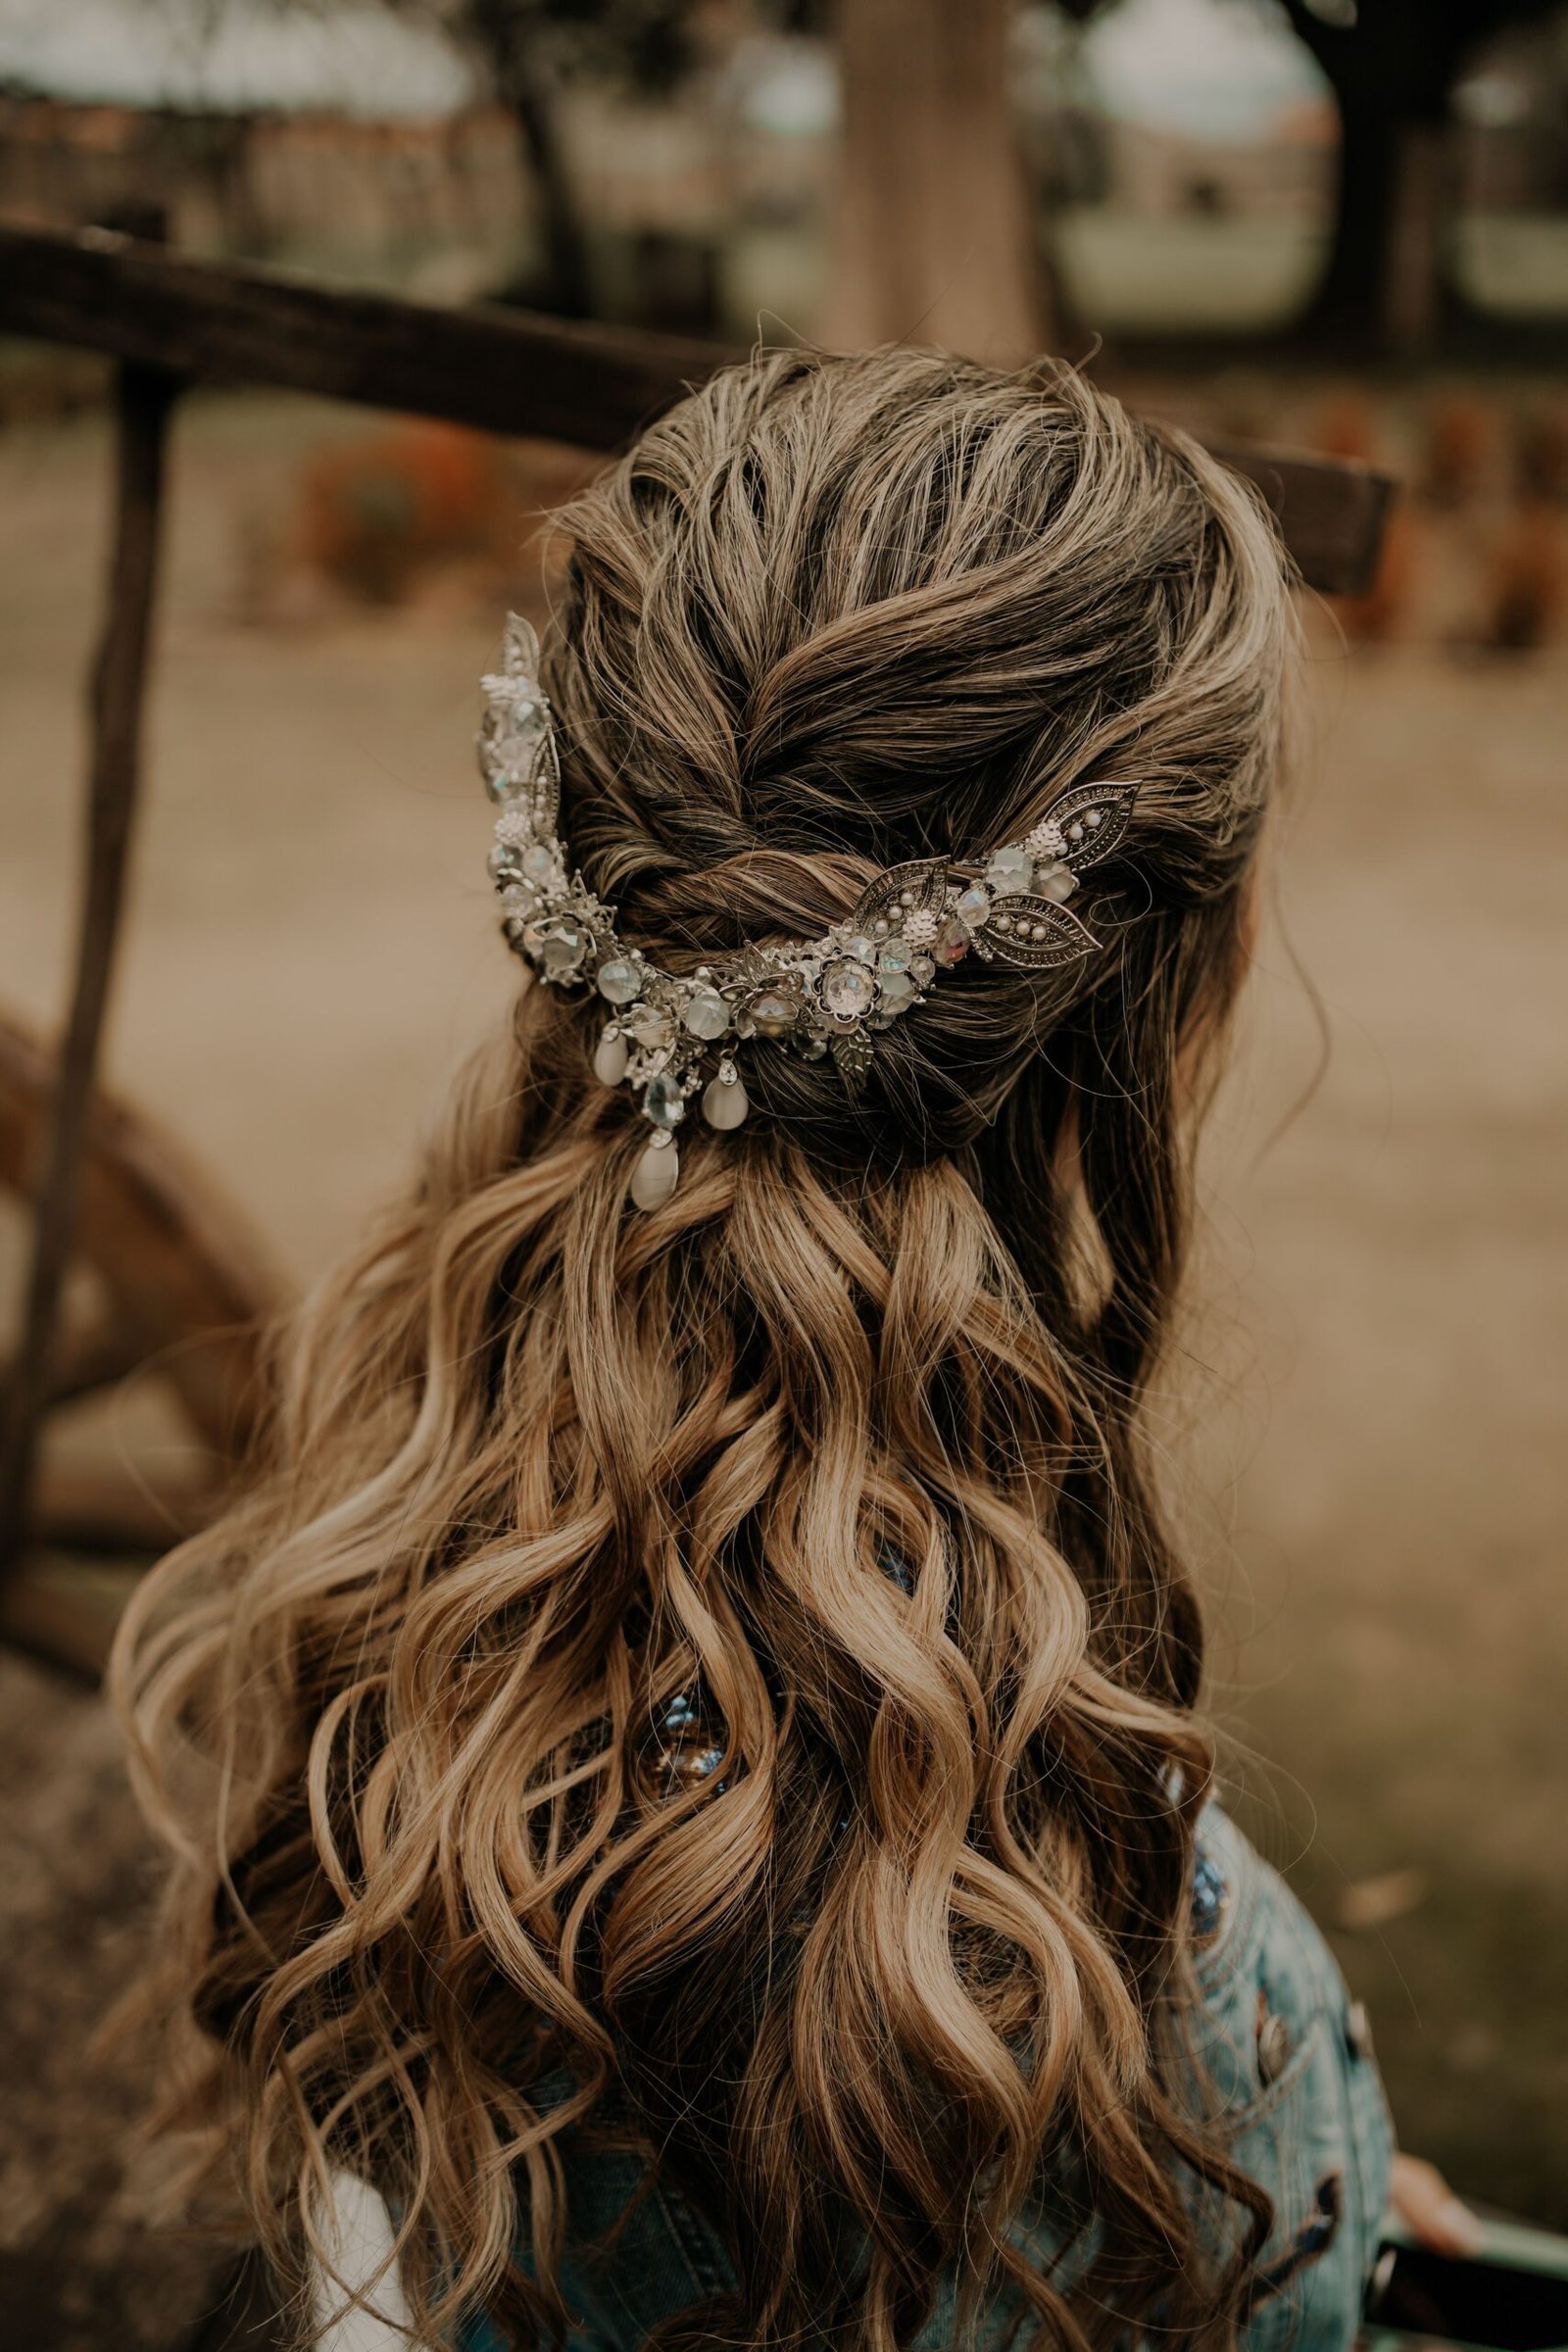
You don't need a drawer full of kit. A small kit will cover pretty much every version of the style.
The basic kit
- A wide-tooth comb or detangling brush. The wide teeth are ideal for protecting wavy and curly hair from breakage; a paddle brush is good for giving straight hair a smoother finish.
- Hair ties. Go for snag-free elastics or fabric scrunchies, which are much kinder to fine hair.
- Bobby pins and U pins. Match the colour to your hair so they disappear.
- A tail comb. Makes clean partings and precise sections a lot easier.
- Hairspray or a texture spray. Flexible hold keeps it soft rather than stiff.
- A claw clip or barrette (optional). Useful for the quickest variations.
Preparing your hair
How your hair feels at the outset will have a massive effect on how the style holds. Very silky hair (hair that's just been washed) tends to slip out of elastics, so many stylists prefer second day hair, which has a little bit of natural grip. If your hair is freshly washed, then a pinch of dry shampoo or texture spray at the roots will give you the same amount of hold.
Detangle fully before you start. Start at the ends and work your way up to prevent snapping and to ensure your sections are smooth rather than bumpy. With curly hair you'll want to detangle when it's damp and conditioned, and then just let it dry prior to styling.
Finally, decide where you want your parting. A centre parting is symmetrical and very polished, a side parting adds a good deal of volume and softens strong features, and no parting at all gives you the cleanest, most classic look.
The Classic Half-Up Ponytail, Step by Step
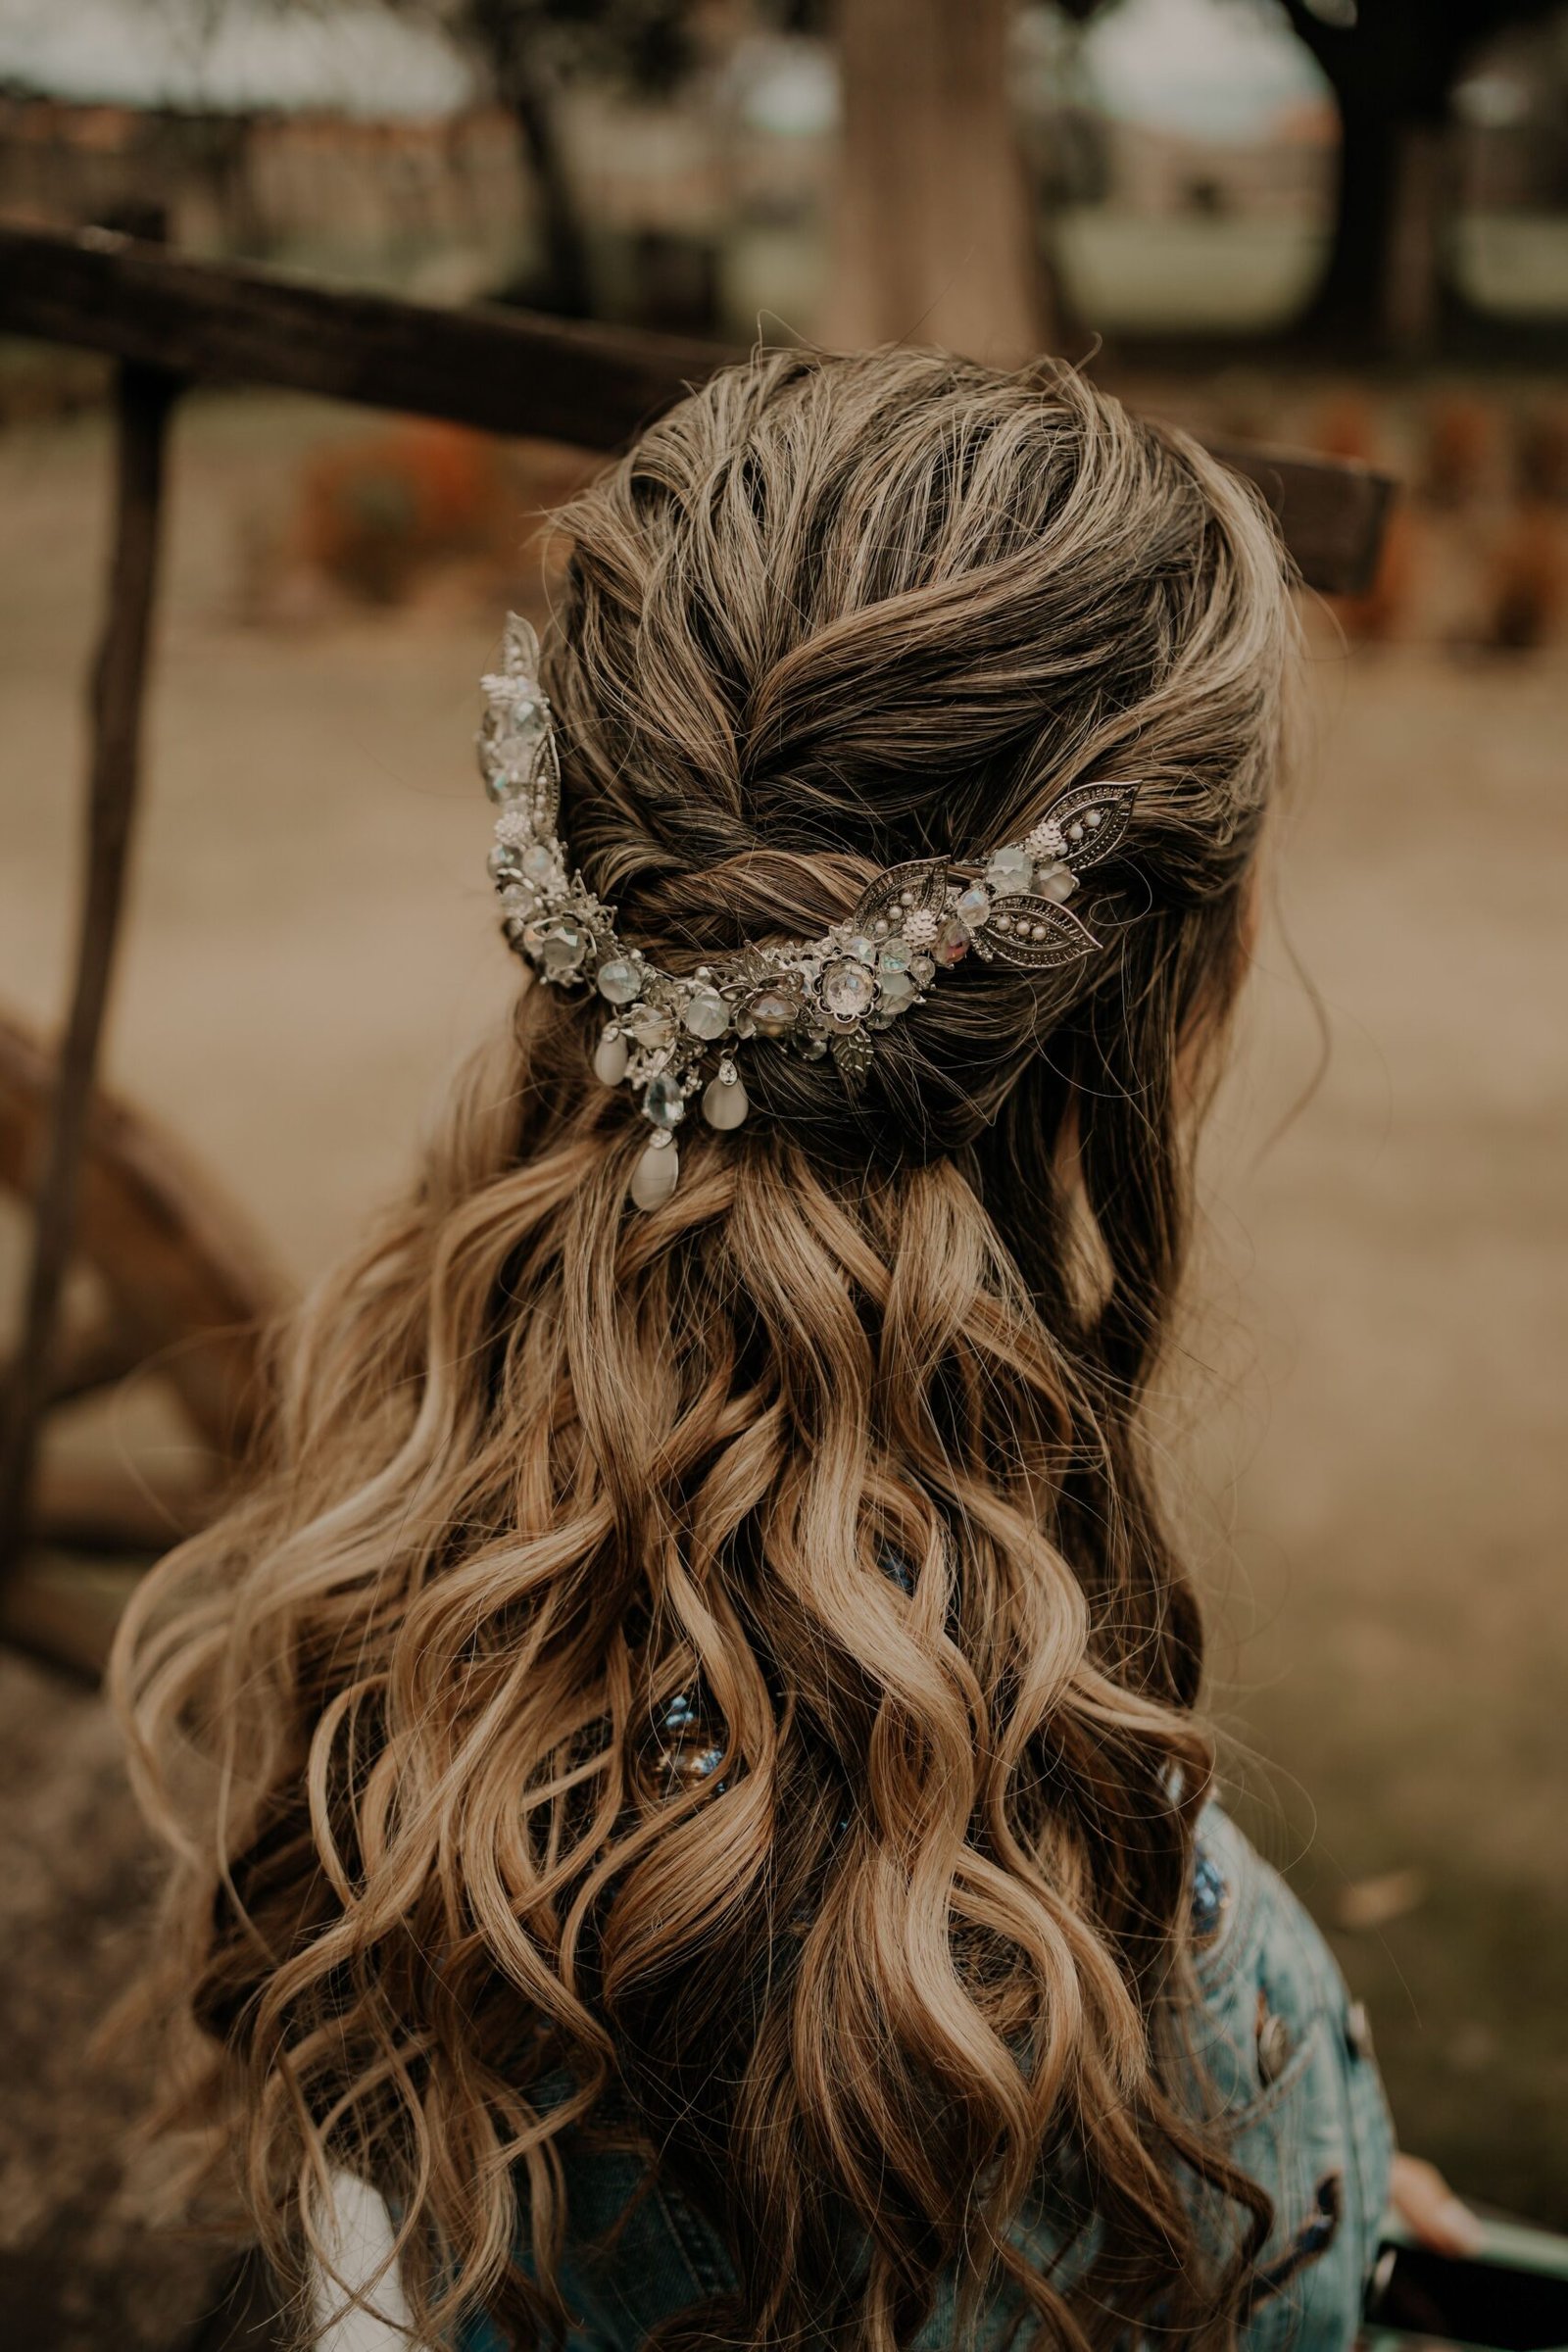
Learn this version first, as all the others are just variations on the same theme: a top section fixed at the back or crown, and the remainder of the hair left loose.
- Brush and part. Detangle your hair and set your parting (or leave it unparted for a smoother look).
- Choose your section. Draw a line from the top of one ear through the crown to the top of the other. A narrow section will give a more relaxed appearance; a deeper section taken from further back will give more height and a more pronounced shape.
- Gather and smooth. Hold the section at the height you desire and smooth the top with a brush. Leave the sides slightly loose if you're after a softer finish.
- Tie it. Secure the ponytail with an elastic and twist the elastic once or twice so it's secure but not pulling.
- Add lift. Gently tease the hair just in front of the elastic, then smooth the surface layer over it. Tug the ponytail up a little so the crown puffs.
- Frame your face. Loosen a few strands by your temples. That's what prevents the style from looking too severe.
- Hide the elastic (optional). Take a small strand from the ponytail, wrap it round the elastic and pin it underneath.
- Set it. Finish with a light mist of flexible-hold hairspray, holding the can at arm's length.
Ponytail height at a glance
A ponytail at the crown looks lifted and quite youthful. One at the back of the head, level with your ears, is a more relaxed look and works well for day-to-day wear. A low one at the mid-back is the most understated and is the one to go for in a professional context.
Six Half Up Half Down Variations to Try
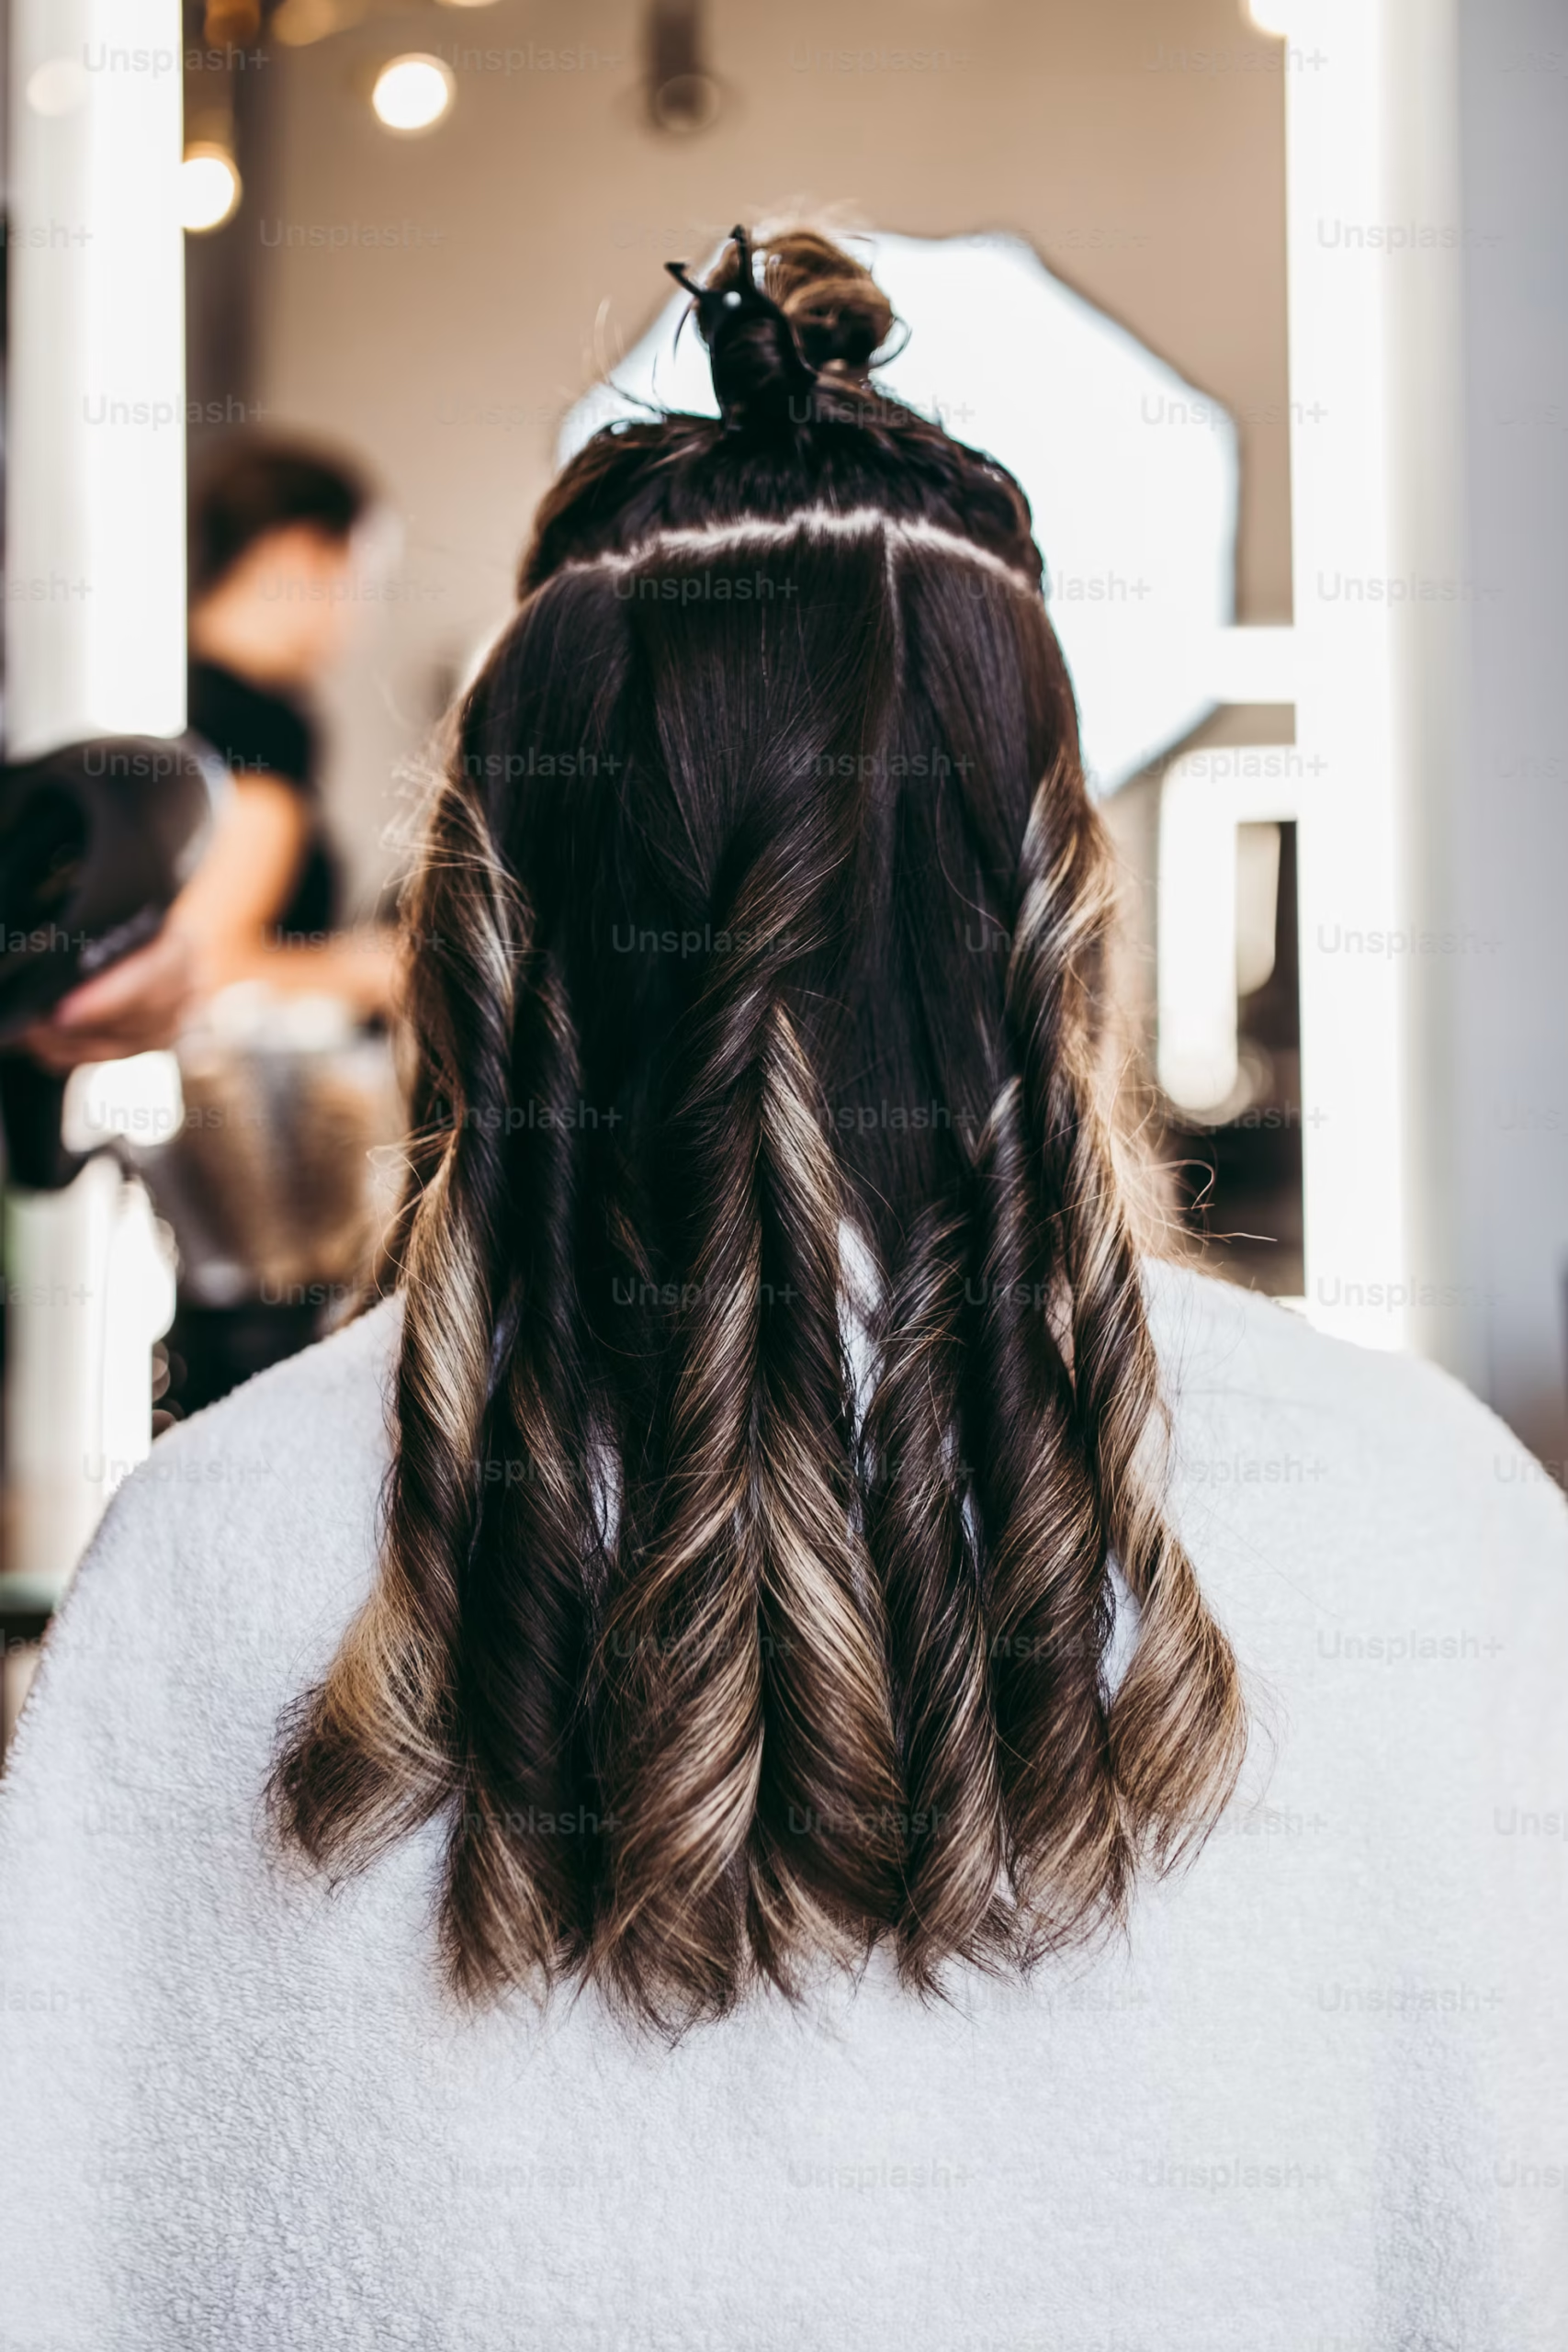
Once you've got the classic down, these variations allow you to alter the feel without having to learn a whole new technique from the ground up.
1. The half-up top knot
Gather the top section at the crown, twist it around itself and tie it into a bun. Secure with an elastic or two pins. Pull the bun out a little with your fingertips to give it a full, slightly undone look. A great choice for second day hair and for anyone looking for a casual, playful style.
2. The half-up braid
Section off the top of your hair and divide it into three. Braid it down to the ends, tie it off and pin it flat against the back of your head, or just let it hang in amongst the loose hair. For a softer, more romantic look, use two thin braids from the sides and bring them together at the back. A gentle pull on the edge of each braid loop will make it look wider and more relaxed.
3. The twisted and pinned style
Take a small section from each side at the temple, twist each one away from your face (working towards the back), cross them and secure with pins or a barrette. It takes under two minutes, keeps your face clear and works a treat on short or layered hair that simply won't go in a ponytail.
4. The bubble half-up
Start with a classic half-up ponytail. Add a second elastic a few centimetres down, then a third, and gently pull each section out to form rounded bubbles. It's fun and eye-catching, and a great way of adding some interest to straight hair.
5. The claw clip half-up
Twist the top section once or twice, pull it up towards the crown and secure it with a medium claw clip. Pick a clip that's appropriate for the volume of your hair, as one that's too small will slip and one that's too large will look odd. This is the quickest of the options and very comfortable for all-day wear.
6. The sleek half-up with a statement piece
Smooth the top section back with a little styling gel or smoothing cream, tie it low and finish with a bow, ribbon or a decorative clip. It looks neat and put together, and is the sort of thing you'd do for an event where you want your hair to be tidy but not overly formal.
Tips for Your Hair Texture and Thickness
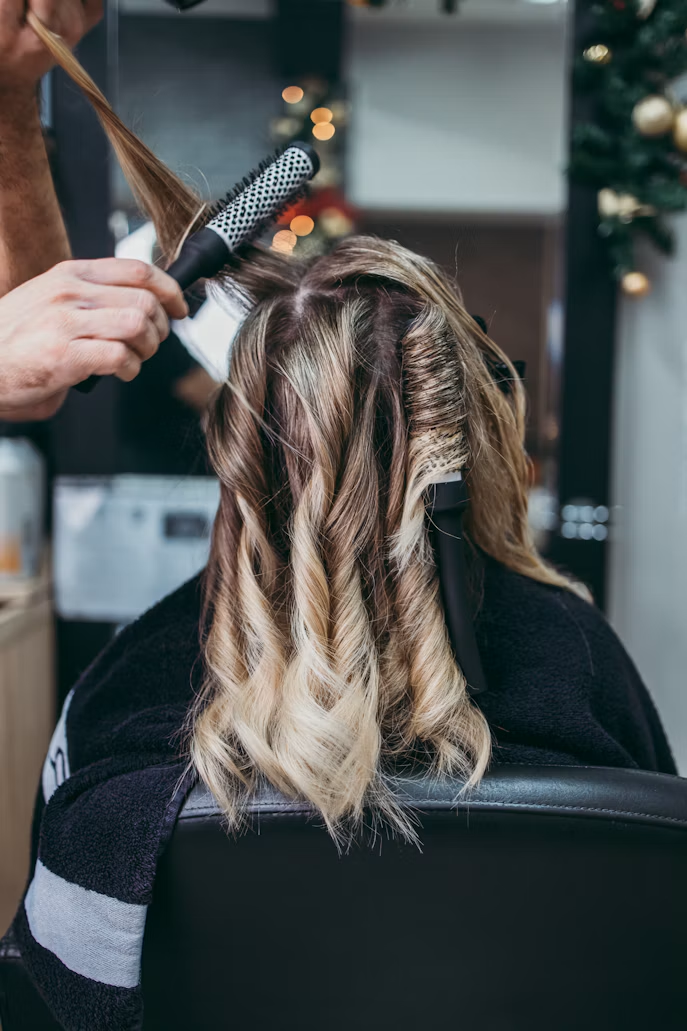
The technique is the same for all; you just need a few tweaks to suit your individual hair.
Fine or straight hair
Fine hair can look quite flat at the crown and will easily slip out of your elastics. A little tease at the roots prior to tying will help. Texture spray is better than a heavy serum in this instance, and you'll want to use a small, snug elastic. A few strands pulled out of the ponytail afterwards will give the appearance of volume. If your hair just won't hold its shape at all, a touch of dry shampoo at the roots will give it the necessary grip.
Thick hair
Thick hair can be quite heavy when gathered, and the ponytail will droop. Take a smaller top section than you think you need and use a strong elastic or a large claw clip. If you divide your top section in two and tie the two halves together (one over the other), you'll spread the weight and the style will stay up.
Wavy hair
Wavy hair is perfect for this style, as the lengths are already full of movement. Use a light curl cream or mousse on damp hair and scrunch as it dries. Don't brush it once it's dry, as that will create frizz. Just pin or loosely tie back the top section so the waves cascade into the style.
Curly and coily hair
The half-up is a great style for showing off curls. A high half-up (puff or pineapple style) will lift the top and allow the curls to fall freely. Detangle and style on damp, moisturised hair, and fluff the loose section with your fingers or an afro pick rather than brushing it. A satin scrunchie is much kinder to curls than a standard elastic and will reduce breakage and frizz.
Short or layered hair
If your hair is too short for a ponytail, go for a twisted-and-pinned style or a couple of small clips at the sides. Layers can work themselves out of a gathered section, so a light texture spray and some good pins will keep them where you want them.
Choosing Placement for Your Face Shape
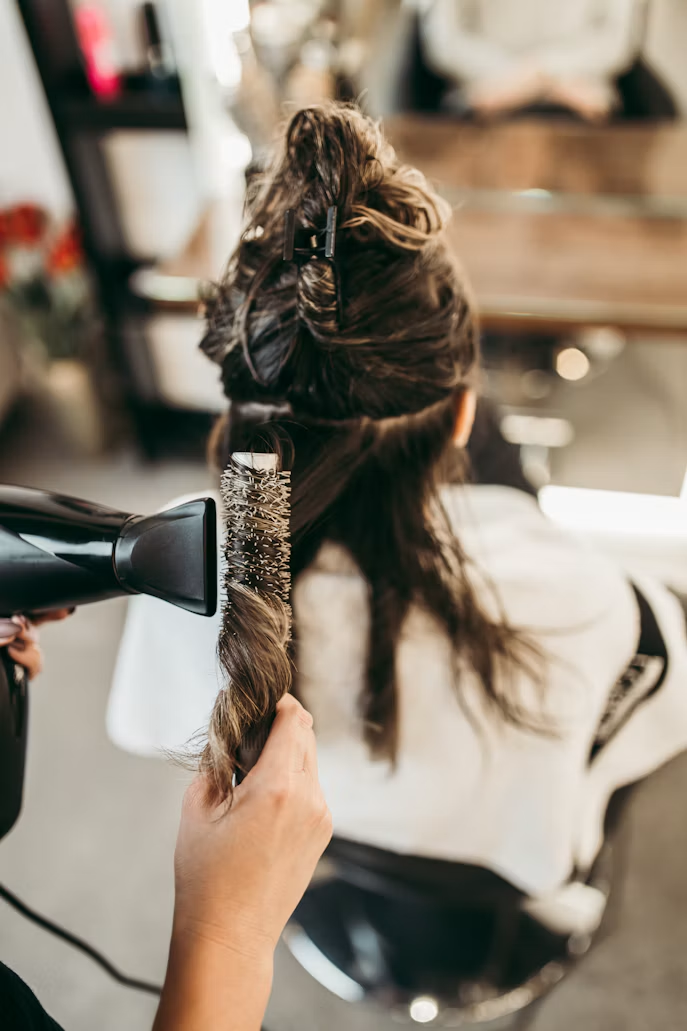
Face shape advice shouldn't be treated as a rule. A few general principles will help you decide where the top section should go and how much hair you should leave around your face.
- Round face: a higher ponytail or a knot at crown level adds length and draws the eye up. Leave a few longer strands at the sides to soften the cheeks.
- Square face: soft, textured styles are best. Loosen the top section, add some waves to the loose hair and avoid very tight, slicked-back styles, as these will accentuate the jaw.
- Oval face: this shape suits almost any height or style, so it's all down to the occasion and the texture of your hair.
- Heart-shaped face: medium to low placement will balance out a wider forehead. Side-swept pieces and a touch of volume at the lower lengths will help.
- Long or narrow face: keep the style low and don't add too much height. Width at the sides (via waves or curls) is the way to achieve balance.
If you're not certain which category you fall into, try the style at three heights (crown, back of the head and low). Take a photo of each, and the photos will show you what the mirror rarely does. The right placement is generally very apparent when you compare them.
Styling It for Different Occasions
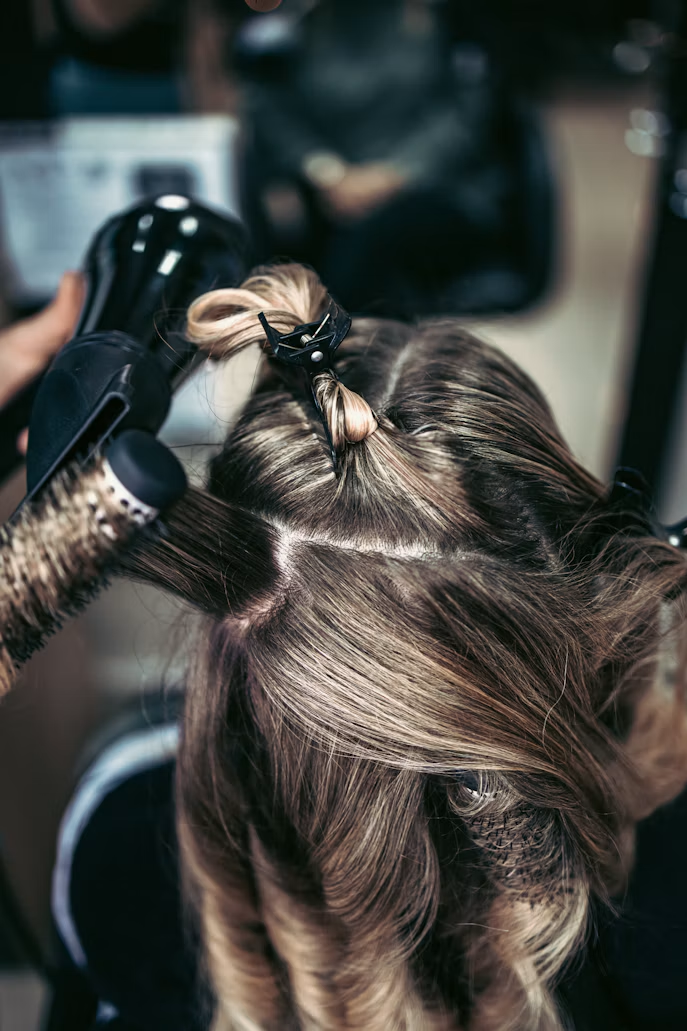
Work and school
Choose a low or mid-height half-up ponytail with the top smoothed back. Keep the loose lengths neat with a quick brush or a swipe of smoothing cream, and secure with a plain elastic or a simple barrette. It looks put together without being at all formal.
Weddings and parties
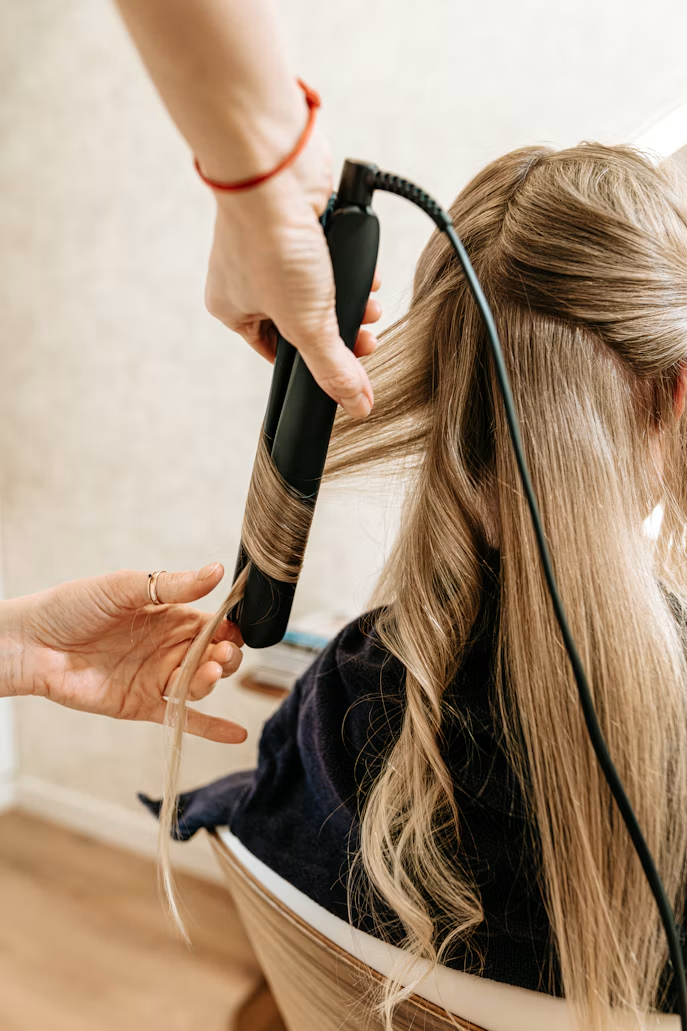
Add soft curls or waves to the loose section using a curling iron or wand, and then brush them out a little for a relaxed look. Secure the top section with a braid or twist and add a decorative pin, pearl clip or some fresh flowers. Set with a flexible-hold spray so it will last through the photos, the dancing and the long evening.
Weekends and casual outings
This is where a top knot or a claw clip really comes into its own. Keep it a bit loose, let a few strands fall and skip the hairspray altogether. It should look completely effortless.
Growing out bangs or layers
Pinning the front sections back is one of the simplest ways to deal with an awkward in-between length. A twisted-and-pinned half-up will keep the fringe or shorter layers out of your eyes and give them a chance to grow.
Workouts and warm weather
A half-up claw clip or a braid will keep the hair off your neck whilst leaving the majority of it down. For intense exercise a full ponytail will hold better, but the half-up is quite good for walking, yoga or a day in the heat.
Common Mistakes and How to Fix Them
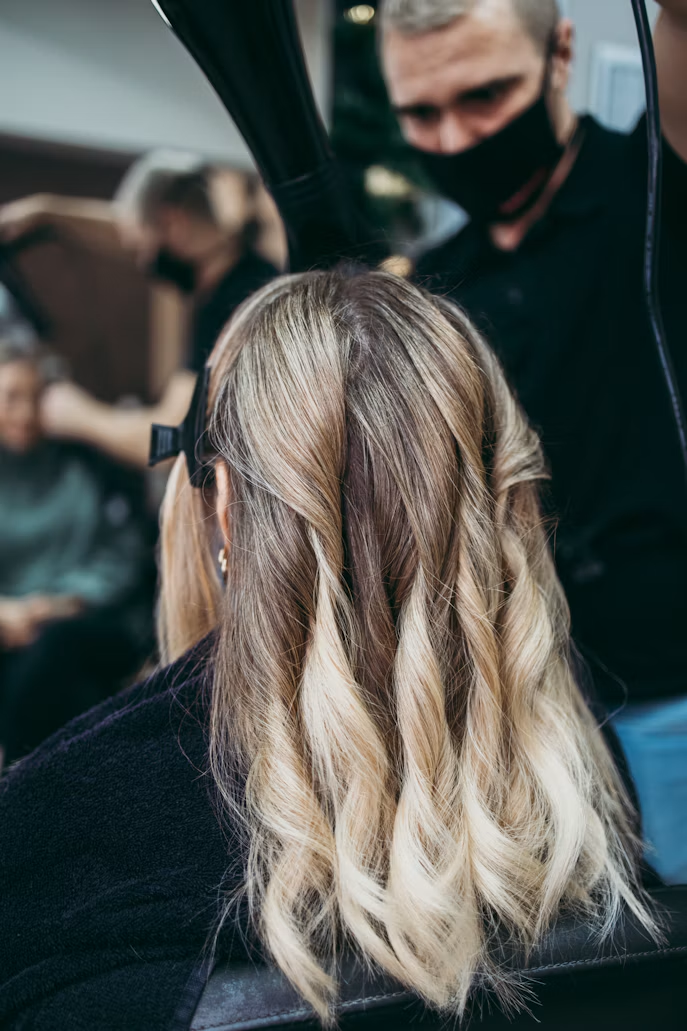
Even a simple style goes wrong in the most predictable of ways. These are the problems people run into most frequently.
- The ponytail comes down during the day. The hair is likely too slippery or the elastic too loose. Try adding some texture spray before you tie it, and pin it with a pin or two underneath the elastic.
- The top is flat and bumpy. Brush the top layer smooth before tying and tease lightly underneath for support. Don't pull the section too tight at the front.
- The style looks severe. Release a few strands at the temples and loosen that section a little after you've tied it.
- The sections look lopsided from the side. Always check both sides in a mirror prior to tying, as one side will invariably end up higher.
- The style is tight and causes a headache. Move it down, use a bigger, softer scrunchie and don't pull the hair too taut. If it hurts, it's too tight.
- The loose hair looks tired by midday. A quick brush, a spritz of water (or leave-in conditioner for curls), or a dab of dry shampoo on straight hair will do the trick.
Keeping your hair healthy
Wearing your hair in the same spot every day can lead to breakage at the point where the elastic sits. Change the position of your ponytail, use fabric-covered ties rather than thin elastics and take the style out at night. Sleeping on a satin pillowcase, or simply loosely braiding the lengths, will help protect your hair while you sleep.
Final Thoughts
Half up, half down is popular for good reason. It's easy, it's flattering and it's so easily adjustable. Start with the basic ponytail until the sectioning feels right, and then play around with braids, twists and clips to find the one that works for your hair, your face and the day.
The best thing to do is practise on a calm morning rather than right before the event. Experiment with various heights, take plenty of photos and keep a log of what works and what doesn't. Within a week or two you'll have a few go-to styles that you can do without having to think about it at all.
Which variation are you going to try first? Let us know in the comments which is your favourite, and if you'd like us to produce a specific guide for a certain hair type.