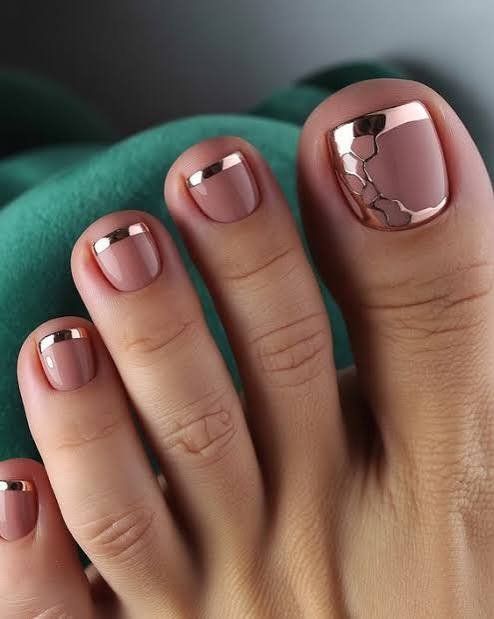
Your gel manicure is chipping by day four, and you have no idea why.
Sound familiar? 🍂
Here’s the thing nobody tells you: it’s seldom the polish. It’s the prep.
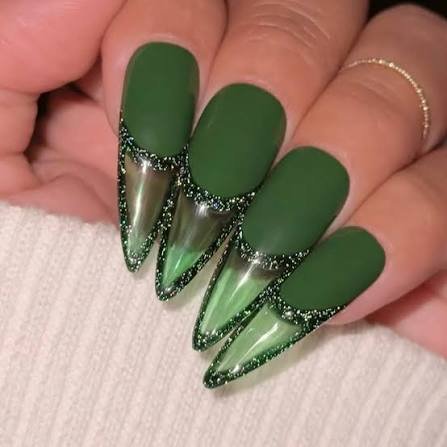
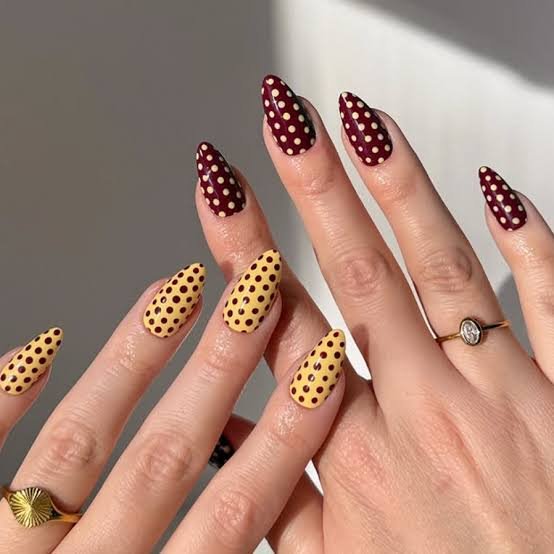
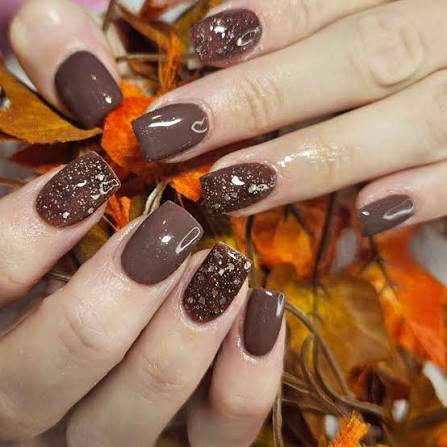
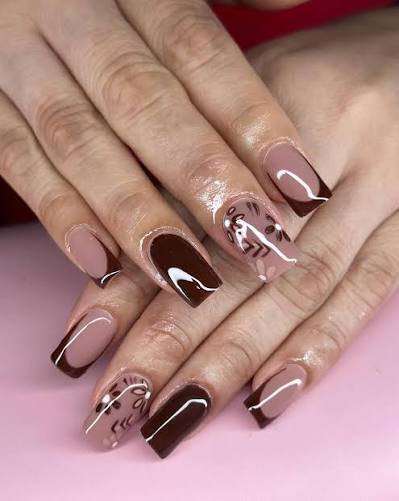
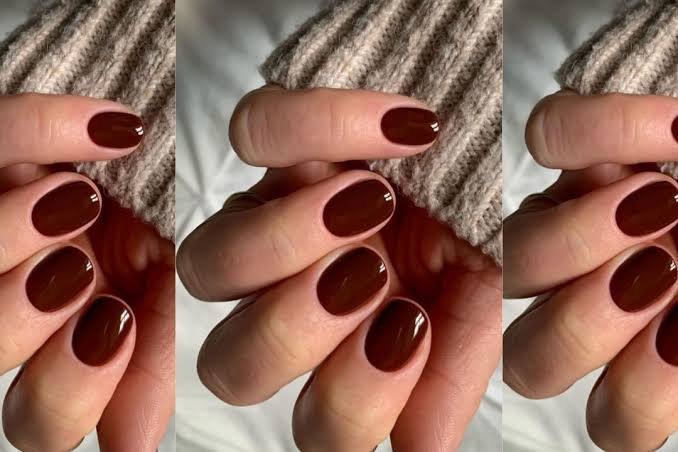
I’ve tested more fall gel colors than I’d like to admit, and I finally cracked the routine that gets salon-level results at home. Cinnamon browns, deep plums, that burnt orange everyone’s obsessed with right now, all of it holds up for two full weeks when you do these steps in order.
Grab your coffee. Let’s get into it.
What You’ll Need
- Gel polish base coat
- Gel polish color of choice (2 coats)
- Gel top coat
- Nail prep solution (isopropyl alcohol works too)
- Cuticle oil
- Nail buffer block
- Fine-grit nail file
- Lint-free wipes or cotton pads
- Cuticle pusher
- Hand cream
Tools Required
- UV or LED nail lamp
- Cuticle nippers (optional, for stray skin only)
- Small nail art brush (if you’re adding detail)
- Nail dust brush
Substitutions and Alternatives
No UV/LED lamp? Skip gel and use a “gel-effect” regular polish with a glossy top coat instead. It won’t last as long, but it’ll get you close to the look.
Sensitive skin or acetone allergies? Swap the acetone remover for a soy-based, non-acetone version. It takes a bit longer to soak off but it’s much gentler.
Oily nail beds? Wipe with rubbing alcohol right before applying base coat. Gel needs a totally dry, oil-free surface to grip.
Budget-friendly swap? Drugstore gel systems (Sally Hansen Miracle Gel, essie gel couture) skip the lamp entirely and still give solid wear time.
Weak or peeling nails? Add a strengthening base coat with biotin or calcium instead of a standard base.
Prep and Patch-Test Tips
- Do a patch test on one nail 24 hours before your full manicure if you’ve never used that brand’s gel before.
- Push back cuticles gently. Never cut healthy skin.
- Buff the shine off your natural nail. This one step is what most at-home gels skip, and it’s the #1 reason polish lifts early.
- Wash hands with soap and water right before starting. Lotion and oil residue ruins adhesion.
Pro Tips
- Thin coats win. Thick gel doesn’t cure properly in the middle, even if the top looks dry. Two thin coats beat one thick one every single time.
- Cap the free edge. Swipe polish over the very tip of your nail with each coat. This seals the edge and stops chipping from the front, which is where 90% of breaks start.
- Cure the right amount. LED lamps usually need 30-60 seconds per coat. UV lamps need longer, closer to 2 minutes. Check your specific lamp’s wattage.
- Cuticle oil is not optional. Apply it every single night. Hydrated cuticles mean your gel has less room to lift at the edges.
- Skip hot water for the first 2 hours. Freshly cured gel is still settling. Hot dishwater or a shower right after can soften the finish.
Step-by-Step Instructions
Step 1: Prep the Nail
Remove any old polish completely. Push back cuticles with your pusher, then lightly buff the surface of each nail to remove shine. Wipe with alcohol or nail prep solution to remove all oil and dust.
Step 2: Apply Base Coat
Apply one thin layer of gel base coat, capping the free edge. Cure under your lamp for the recommended time.
Step 3: First Color Coat
Apply your first coat of color. Keep it thin and even. Cure.
Step 4: Second Color Coat
Apply a second thin coat for full opacity. This is where fall shades really come alive, so take your time here. Cure again.
Step 5: Seal With Top Coat
Apply gel top coat in one smooth layer, capping the edges. Cure for the full recommended time, this one matters most for shine and durability.
Step 6: Remove the Tacky Layer
Wipe nails with a lint-free pad soaked in alcohol to remove the sticky residue left after curing.
Step 7: Finish
Massage cuticle oil into each nail bed, then follow with hand cream.
Storage and Shelf Life
| Product | Shelf Life (Unopened) | Shelf Life (Opened) |
|---|---|---|
| Gel base/top coat | 2-3 years | 12-18 months |
| Gel color polish | 2-3 years | 12-18 months |
| Cuticle oil | 2 years | 6-12 months |
| Acetone remover | Indefinite | 1-2 years |
Store gel polish upright, away from direct sunlight and heat. A bathroom cabinet works better than a windowsill. If your polish gets thick or separates, it’s time to replace it.
How long does a gel manicure actually last?
Two to three weeks with proper prep and no picking.
Can I use gel polish without a lamp?
No. Gel polish needs UV or LED light to cure. Without it, it will stay wet and tacky indefinitely.
Why did my gel chip after only two days?
This almost always traces back to skipped prep. Oily nail beds, no buffing, or coats applied too thick are the usual culprits.
What's the safest way to remove gel polish?
Soak cotton pads in acetone, wrap each nail in foil, and let it sit for 10-15 minutes. Gently push off with a cuticle stick. Never pick or peel.
Can I do gel nails if my nails are damaged?
Give them a break first. Use a strengthening treatment for a few weeks, then start gel once nails feel less flexible and bendy.

Hi, I’m Emily Carter
I’m the owner and writer behind SmartBeautyTip.com, where I share beauty ideas, nail inspiration, skincare tips, and the latest trends worth trying.
I love finding simple, stylish beauty ideas and turning them into practical tips you can actually use. My goal is to help you discover easy beauty inspiration that makes you feel confident and excited to try something new.
Beauty should be simple, fun, and uniquely yours.