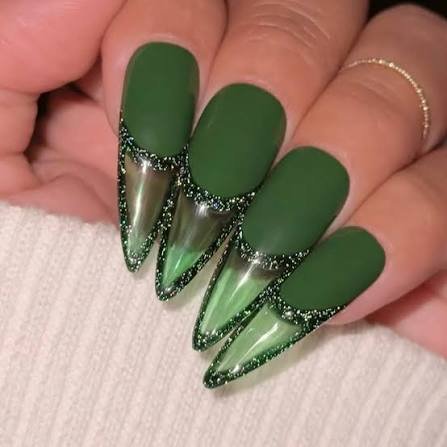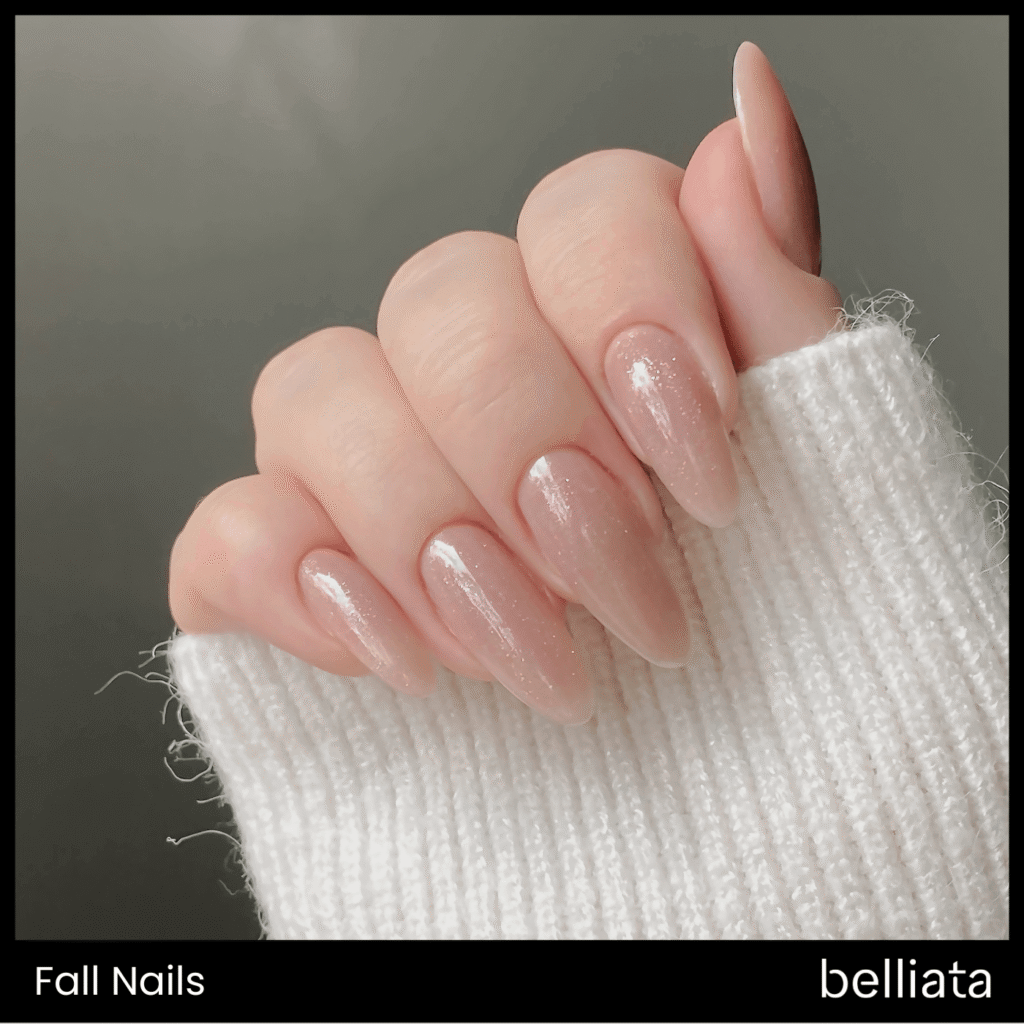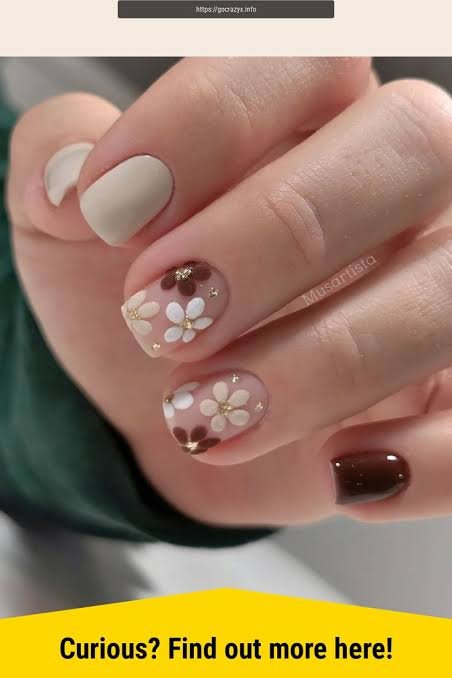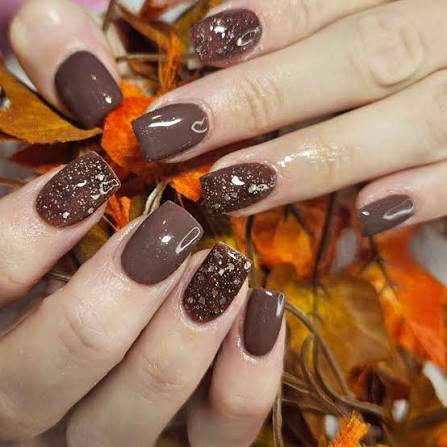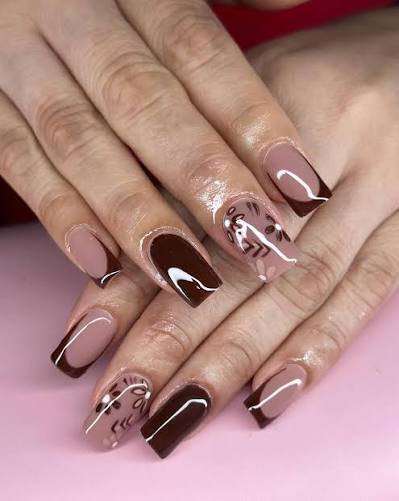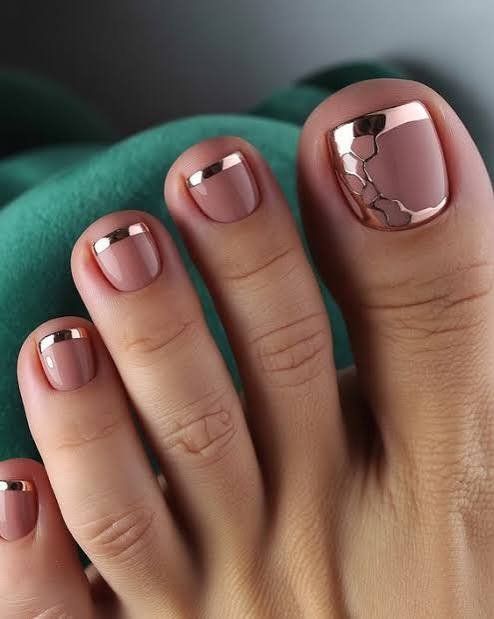
Your nails have been wearing the same tired summer coral for three months now.
They’re ready for a change. So are you.
Fall nail color isn’t just about swapping bright for dark. It’s about picking shades that actually make your hands look expensive without spending a fortune at the salon.
I tested a full fall manicure at home this week, start to finish, and I’m breaking down exactly what worked.
Grab your coffee. Let’s get into it. ☕
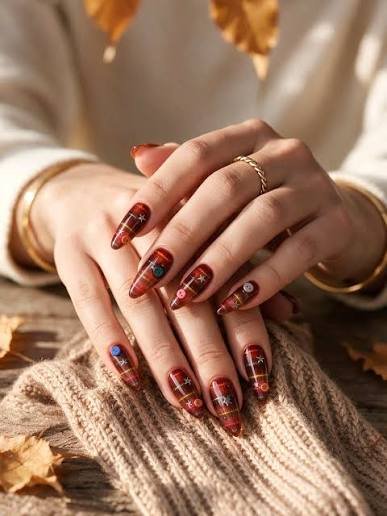
What You’ll Need
Here’s your full shopping list before you start:
- Nail polish remover (non-acetone if your nails are weak)
- Base coat (strengthening formula if you can find one)
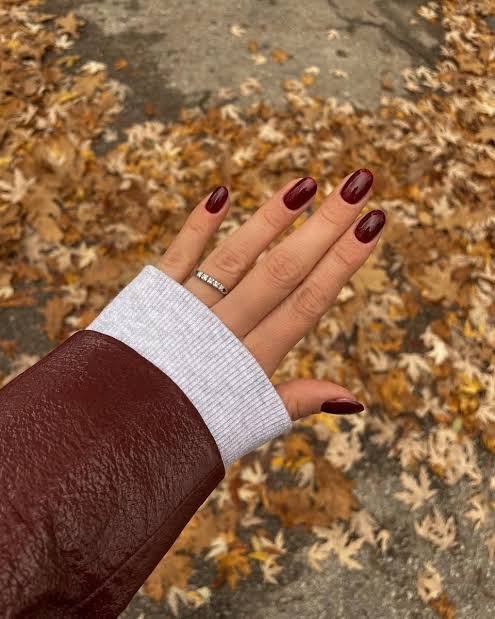
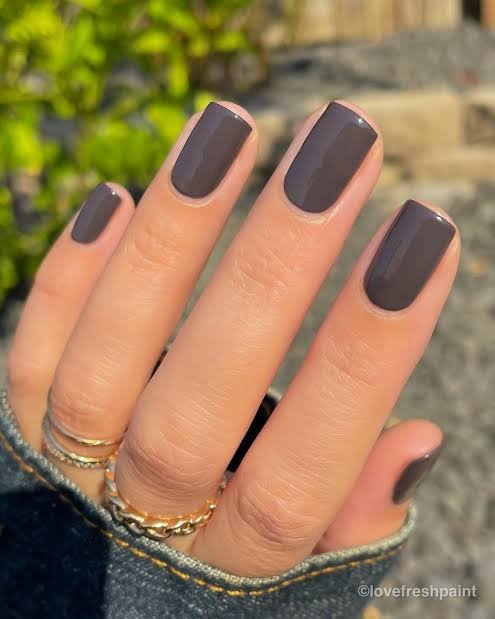
- 2-3 fall polish shades (think burgundy, chocolate brown, deep olive, burnt orange)
- Top coat (glossy or matte, your call)
- Cuticle oil
- Nail file (glass or fine-grit)
- Buffer block
- Cotton pads or squares
- Cuticle pusher
- Small angled brush or cotton swab (for cleanup)
That’s it. Nothing fancy, nothing that’ll break the bank.
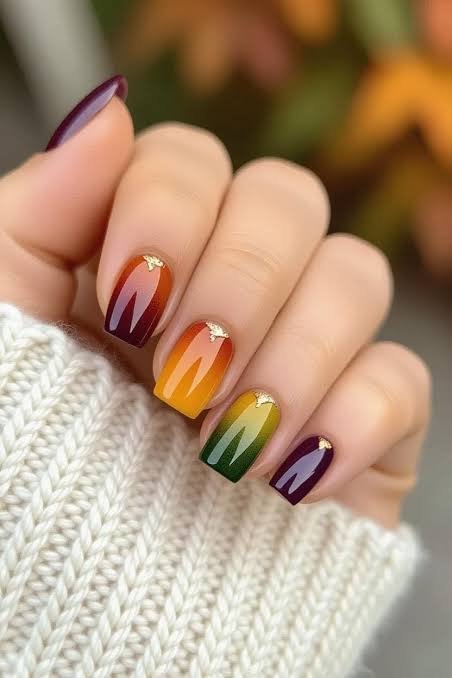
Tools Required
Beyond the polish itself, you’ll want:
| Tool | Why You Need It |
|---|---|
| Glass nail file | Shapes without splitting nails |
| Buffer block | Smooths ridges before polish |
| Cuticle pusher | Cleans up the nail bed edge |
| Angled cleanup brush | Fixes polish mistakes without redoing everything |
You already own most of these. If not, they’re cheap and last for years.
Prep and Patch-Test Tips
Skip this section and your polish will chip in two days. I promise.
- Remove all old polish completely. Leftover color messes with how new shades look.
- File nails to your preferred shape. File in one direction only. Sawing back and forth weakens the nail.
- Push back cuticles gently. Never cut them unless you know what you’re doing.
- Buff lightly. Just enough to smooth ridges, not enough to thin the nail.
- Wipe nails with alcohol or remover right before polish. This removes oils so color actually sticks.
If you’re trying a new polish brand for the first time, patch test on one nail and wait 24 hours. Some formulas irritate the skin, especially with darker pigments.
Pro Tips From Trial and Error
I made mistakes so you don’t have to. Here’s what actually makes a difference:
- Thin coats win every time. Two thin coats dry faster and last longer than one thick coat.
- Cap the free edge. Swipe polish over the very tip of your nail with each coat. This is the number one trick for preventing chips.
- Wait a full minute between coats. Rushing causes bubbling and smudging.
- Use a fast-drying top coat if you’re impatient. Regular top coat can take hours to fully cure.
- Dip nails in ice water for two minutes after your final coat. This sets the polish faster than air drying alone.
Skin Tone and Shade Pairings
Not every fall shade works on every skin tone. Here’s a quick breakdown:
| Skin Tone | Best Fall Shades |
|---|---|
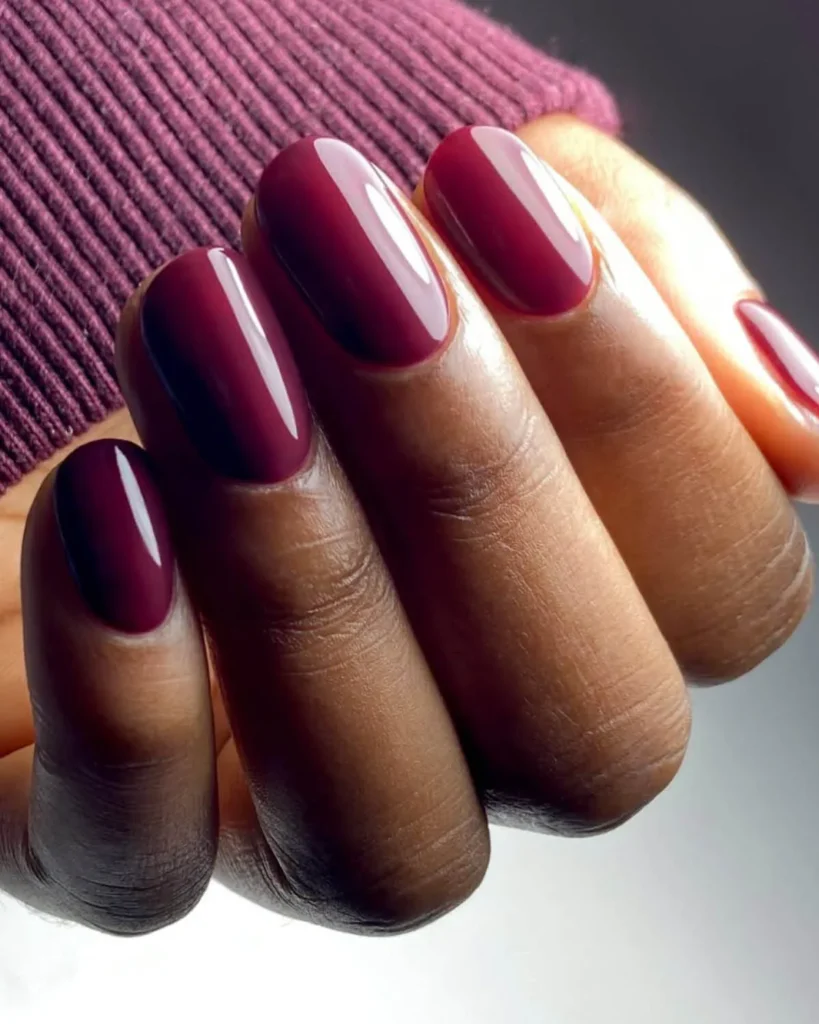
| Fair/Cool undertones | Deep burgundy, plum, blackened cherry |
| Fair/Warm undertones | Terracotta, rust, warm brown |
| Medium | Chocolate brown, olive green, deep mauve |
| Deep | Burnt orange, espresso, deep emerald |
None of these are rules carved in stone. Try what pulls you in.
Substitutions and Alternatives
Budget tight? Sensitive skin? Here’s how to adjust:
- Budget-friendly swap: Drugstore formulas from Sally Hansen or Essie perform nearly as well as luxury brands for a third of the price.
- Sensitive skin swap: Look for “5-free” or “10-free” polish, which skips formaldehyde, toluene, and other common irritants.
- No time for drying swap: Gel polish strips require zero dry time and last two weeks, though removal needs acetone soaking.
- Weak nails swap: Add a nail hardener as your base coat instead of a regular strengthening base.
Step-by-Step: The Full Fall Manicure
Step 1: Prep Your Nails
Remove old polish, file to shape, push back cuticles, and buff lightly. Wipe with alcohol.
Step 2: Apply Base Coat
One thin layer, capping the tip. Let it dry for 60 seconds.
Step 3: Apply Your First Coat of Color
Start at the base of the nail, pull toward the tip in three strokes: center, left side, right side. Cap the free edge.
Step 4: Wait, Then Apply Coat Two
Give it a full minute. Then repeat the same three-stroke technique.
Step 5: Clean Up Edges
Dip your angled brush in remover and trace along the cuticle line to fix any smudges.
Step 6: Apply Top Coat
Apply one layer, capping the tip again. This locks in shine and prevents chipping.
Step 7: Cool and Set
Dip fingertips in ice water for two minutes, or sit under a fan for five.
Step 8: Finish With Cuticle Oil
Massage a small amount into each cuticle. This keeps the skin from drying out and cracking around your fresh manicure.
Storage and Shelf Life
Polish doesn’t last forever. Here’s what to know:
- Unopened polish: Lasts around 2 years if stored in a cool, dark place.
- Opened polish: Lasts 12-18 months with regular use. It’ll start to thicken or separate near the end.
- Store upright, away from sunlight and heat. Heat breaks down the formula faster than anything else.
- Roll, don’t shake, before each use. Shaking creates bubbles that show up on your nails.
- If polish thickens, a few drops of polish thinner (not remover) can bring it back to life.
Cuticle oil and top coat generally last just as long if capped tightly after each use.
FAQ
How long does a DIY manicure actually last?
Two thin coats with proper prep typically hold for 5-7 days before noticeable chipping.
Can I use gel polish without a UV lamp?
No. Gel formulas need UV or LED light to cure properly. Regular polish is your best option without one.
Why does my dark polish look streaky?
Dark shades show streaks more than light ones. Thin, even coats and a slower hand fix this almost every time.
Is it bad to wear polish all the time without breaks?
Occasional breaks help your nails breathe and recover, especially if you’re using gel or acrylic regularly.
What’s the difference between matte and glossy top coat? Glossy reflects light for a shiny finish. Matte creates a flat, velvety look. Both protect the color equally well.
Wrapping Up
Fall nails don’t need a salon appointment or a big budget.
A few solid shades, a little patience, and the right prep get you there just fine.
Try one of these colors this week. Burgundy if you want classic. Olive if you want something different.
Drop a comment below and tell me which shade you went with, or ask anything I might have missed. I read every one. 💬

Hi, I’m Emily Carter
I’m the owner and writer behind SmartBeautyTip.com, where I share beauty ideas, nail inspiration, skincare tips, and the latest trends worth trying.
I love finding simple, stylish beauty ideas and turning them into practical tips you can actually use. My goal is to help you discover easy beauty inspiration that makes you feel confident and excited to try something new.
Beauty should be simple, fun, and uniquely yours.