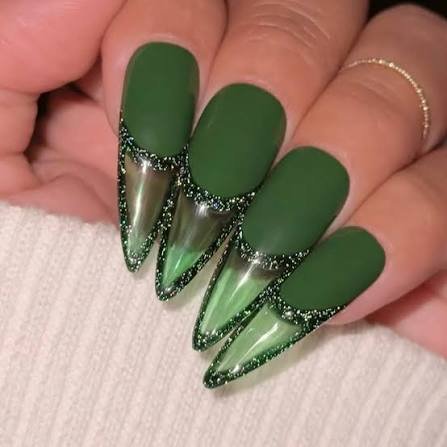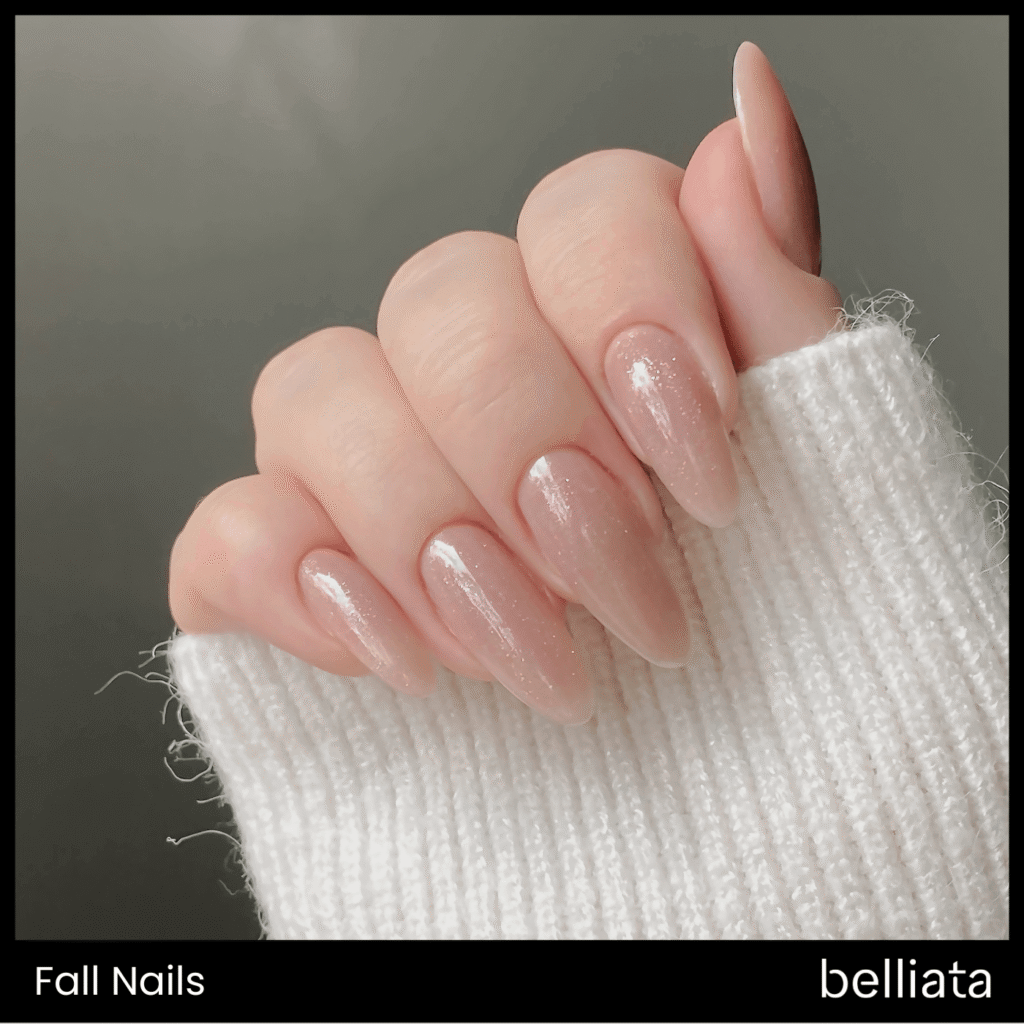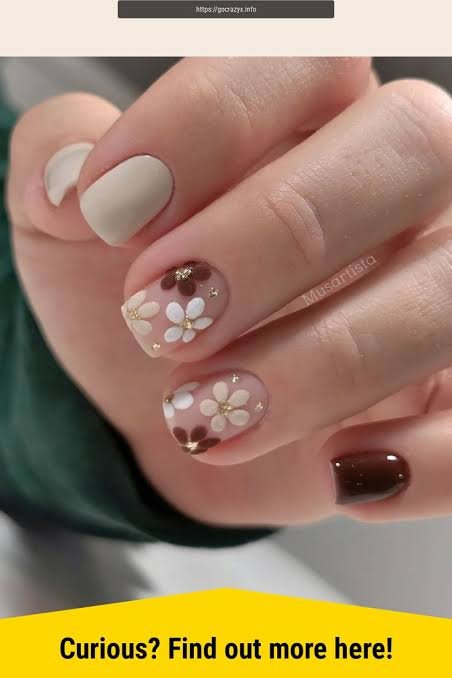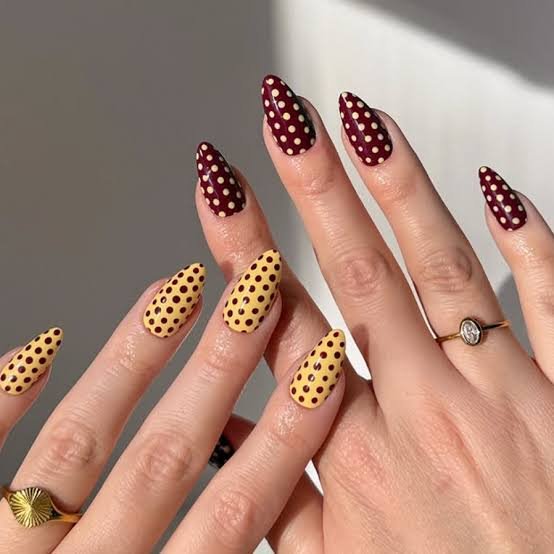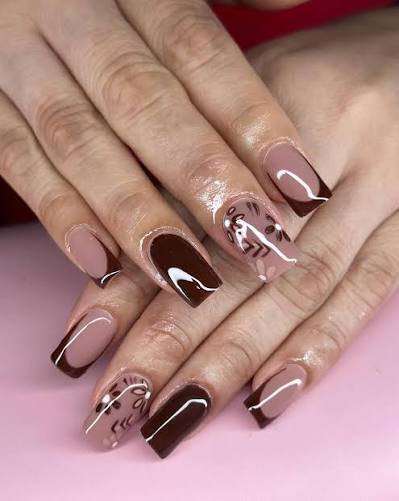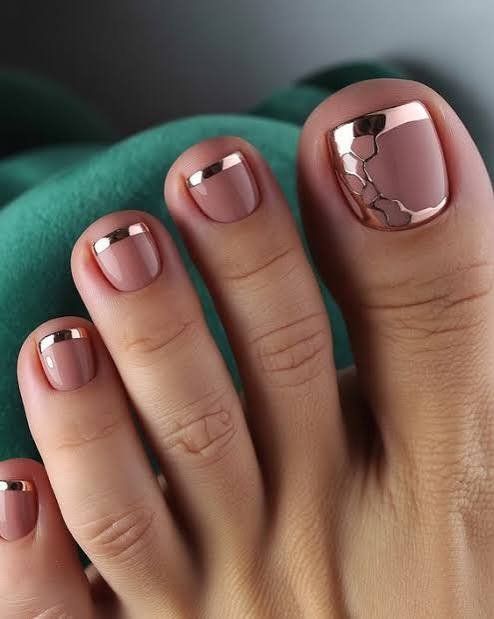
Brown nails sound boring until you actually see them on.
Then suddenly you’re staring at your own hands, wondering why you spent years cycling through the same five reds.
This shade does something weird to fall outfits. Sweaters look richer. Gold jewelry looks warmer. Even your coffee order looks more put together.
I tried five different brown formulas this season to find the ones that actually work at home, no salon trip required. Here’s everything I learned, mistakes included. 🍂
What You’ll Need
You don’t need a huge kit for this. Here’s the full list:
- Base coat (strengthening, if your nails are on the thinner side)
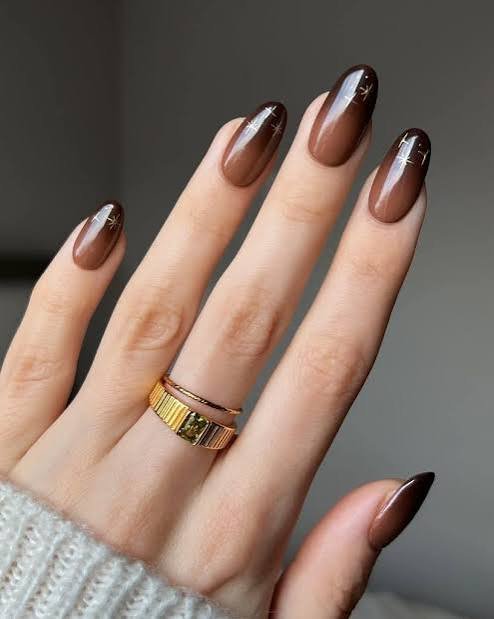
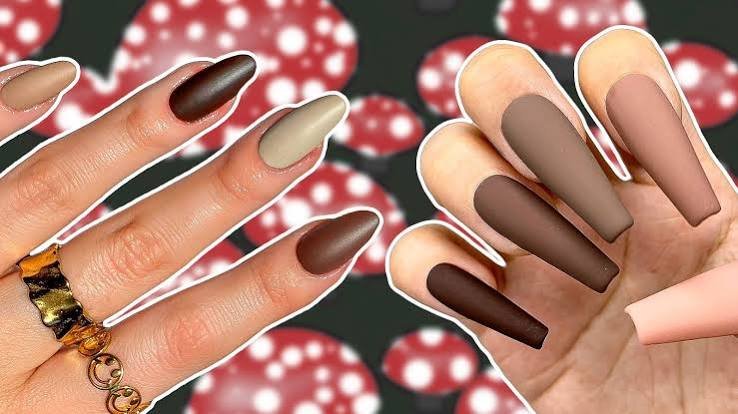
- Brown nail polish or gel polish (chocolate, espresso, or caramel, depending on your undertone)
- A second, lighter brown or nude polish for dimension (optional but worth it)
- Top coat with shine
- Cuticle oil
- Rubbing alcohol and cotton pads
- Nail file (180/240 grit)
- Buffer block
If you’re going gel, add:
- Gel base coat
- Gel top coat
- A UV or LED lamp
That’s it. No 12-step process here.
Tools You’ll Want on Hand
| Tool | Why You Need It |
|---|---|
| Cuticle pusher | Cleans up the nail bed before polish |
| Cuticle nipper | Trims any loose skin (use sparingly) |
| Thin detail brush | For fixing edges or adding a design |
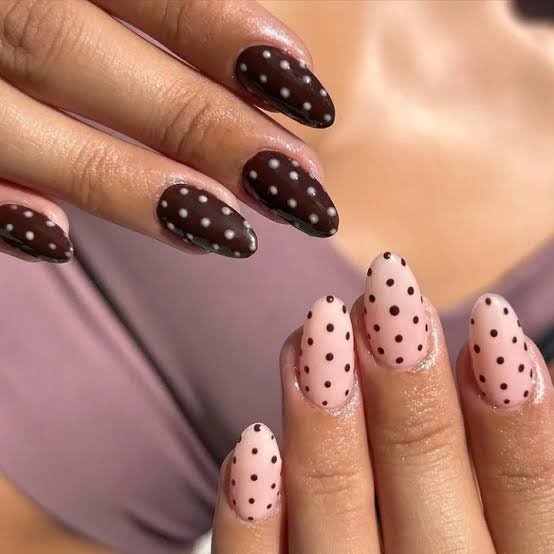
| Dotting tool | Optional, for a speckled or leopard accent nail |
| Small fan or blow dryer (cool setting) | Speeds up drying between coats |
Prep and Patch Test Tips
Brown polishes stain more than you’d expect, especially the deeper espresso tones.
A few things to check before you start:
- Patch test new formulas. Dab a small amount on your inner wrist and wait 24 hours if you have sensitive skin or a history of reactions to nail products.
- Push back cuticles gently. Never cut them dry. Soak hands in warm water for a couple of minutes first.
- Buff lightly; don’t over-buff. Thin nails chip faster, and over-buffing weakens them further.
- Wipe nails with alcohol right before polish. This removes oils so the color actually sticks.
Substitutions and Alternatives
Not every brown works on every skin tone or budget, so here’s how to adjust:
For fair skin tones: Lean toward caramel or toffee shades. Deep espresso can look harsh against very light skin unless you add gold shimmer.
For deep skin tones: Chocolate and mahogany browns look incredible. You can go darker than you’d think.
On a budget: Drugstore brown polishes (the $6-10 range) apply just as smoothly as luxury ones for this particular color family. Save your money for a good top coat instead; that’s where the shine actually comes from.
Sensitive nails or frequent breakage: Skip gel for a cycle and use a strengthening base coat with regular polish instead. Gel removal is what usually causes the real damage.
No brown polish in your stash: Mix a small amount of orange and black polish. It sounds strange, but it gets you close enough in a pinch.
Pro Tips From Trial and Error
- Two thin coats beat one thick one, every time. Thick coats take forever to dry and dent easily.
- Cap the tip of your nail with every coat. Swipe polish over the very edge of the nail. This is the single biggest trick for chip-free manicures.
- Let each coat actually dry. I know waiting is annoying. Rushing is how you end up with smudge marks two hours later.
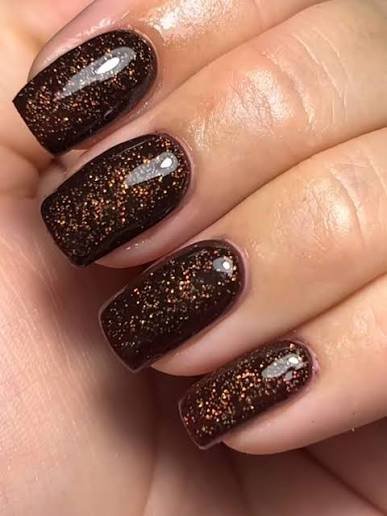
- Warm the darkest browns can look flat under bad lighting. Add a tiny bit of shimmer top coat if your color feels dull once it’s on.
- Keep your fingers away from hot water for at least an hour after finishing. Heat softens fresh polish more than people realize.
Step-by-Step: The Full Brown Fall Manicure
Step 1: Prep Your Nails
Remove old polish completely. Shape nails with a file, working in one direction rather than sawing back and forth.
Step 2: Push Back Cuticles
Soak hands briefly, then gently push cuticles back with the pusher tool. Skip trimming unless something is visibly loose or hanging.
Step 3: Buff and Wipe
Lightly buff the nail surface, just enough to remove shine. Wipe each nail with alcohol on a cotton pad.
Step 4: Apply Base Coat
One thin layer. Let it dry fully, around 60-90 seconds for regular polish.
Step 5: First Coat of Brown
Apply your main brown shade in thin strokes. Cap the tips. Let it dry 2-3 minutes.
Step 6: Second Coat
Repeat. This is what gives you full, even opacity.
Step 7: Add Dimension (Optional)
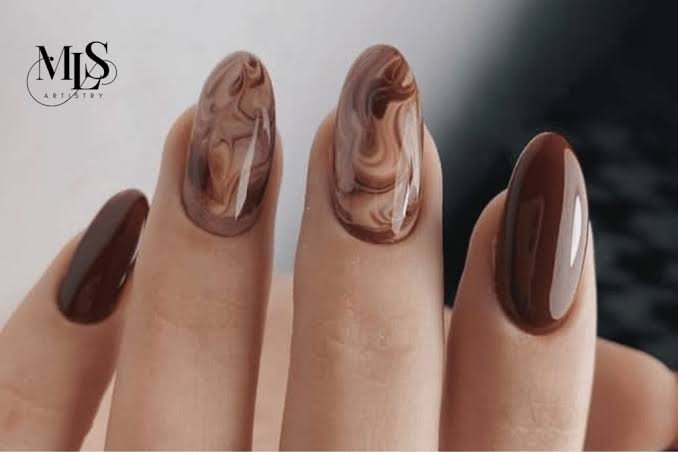
Using your lighter brown or a fine brush, add a soft gradient near the cuticle, or paint one or two accent nails a different shade entirely for contrast.
Step 8: Seal With Top Coat
One layer, capping the tips again. This locks everything in and adds the shine.
Step 9: Finish With Cuticle Oil
Massage a drop of oil into each cuticle. This isn’t just for looks; it keeps polish from lifting early.
Storage and Shelf Life
Polishes don’t last forever, and brown formulas are actually more sensitive to separation than brighter colors.
- Unopened bottles: Good for about 2 years.
- Opened, regularly used: 12-18 months before the formula starts thickening.
- Gel polish: Lasts longer, often 2-3 years, but keep it away from direct sunlight or it can cure slightly inside the bottle.
- Storage tip: Keep bottles upright, away from heat, and roll (don’t shake) before each use to avoid air bubbles.
If a polish separates and won’t mix back together even after rolling, it’s done. Time to toss it.
FAQ
Does brown polish look good on short nails?
Yes, actually better in some cases. Deep browns make short nails look neat and grown-up rather than plain.
Will brown nail polish stain my nails?
It can, especially darker shades used without a base coat. Always apply a base coat first to protect against staining.
How long does a brown gel manicure typically last?
Around 2-3 weeks with proper application and minimal cuticle contact during removal.
Can I wear brown nails year-round or just fall?
Brown works in every season, honestly. It just photographs differently depending on the light. Warmer tones feel autumnal, cooler taupe-browns feel more spring or summer.
What nail shape pairs best with brown polish?
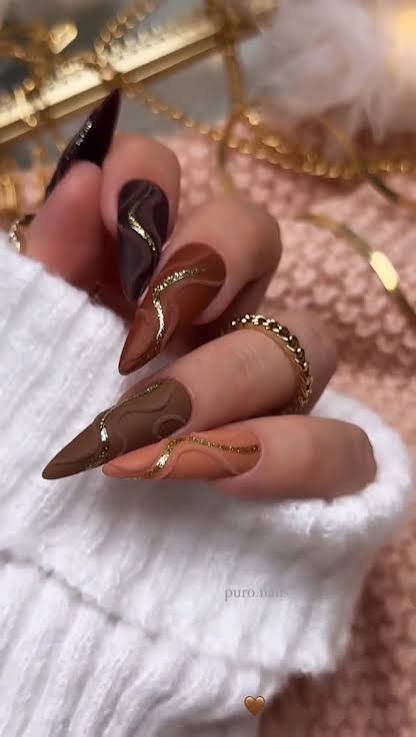
Almond and square shapes tend to show off the color evenly. Very pointed shapes can make dark polish look almost black under certain lighting.
Wrapping Up
Brown nails are one of those low-effort, high-payoff choices that just work with everything in your fall closet.
Once you get the two-coat, cap-the-tip method down, this becomes one of the fastest manicures in your rotation.
Try it this week and drop a comment letting me know which shade you went with: caramel, chocolate, or straight espresso. And if you hit any snags along the way, ask below. I read every comment.

Hi, I’m Emily Carter
I’m the owner and writer behind SmartBeautyTip.com, where I share beauty ideas, nail inspiration, skincare tips, and the latest trends worth trying.
I love finding simple, stylish beauty ideas and turning them into practical tips you can actually use. My goal is to help you discover easy beauty inspiration that makes you feel confident and excited to try something new.
Beauty should be simple, fun, and uniquely yours.