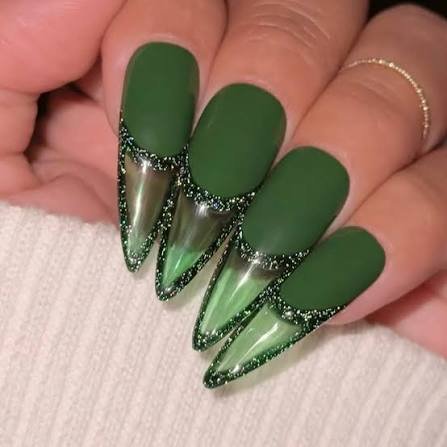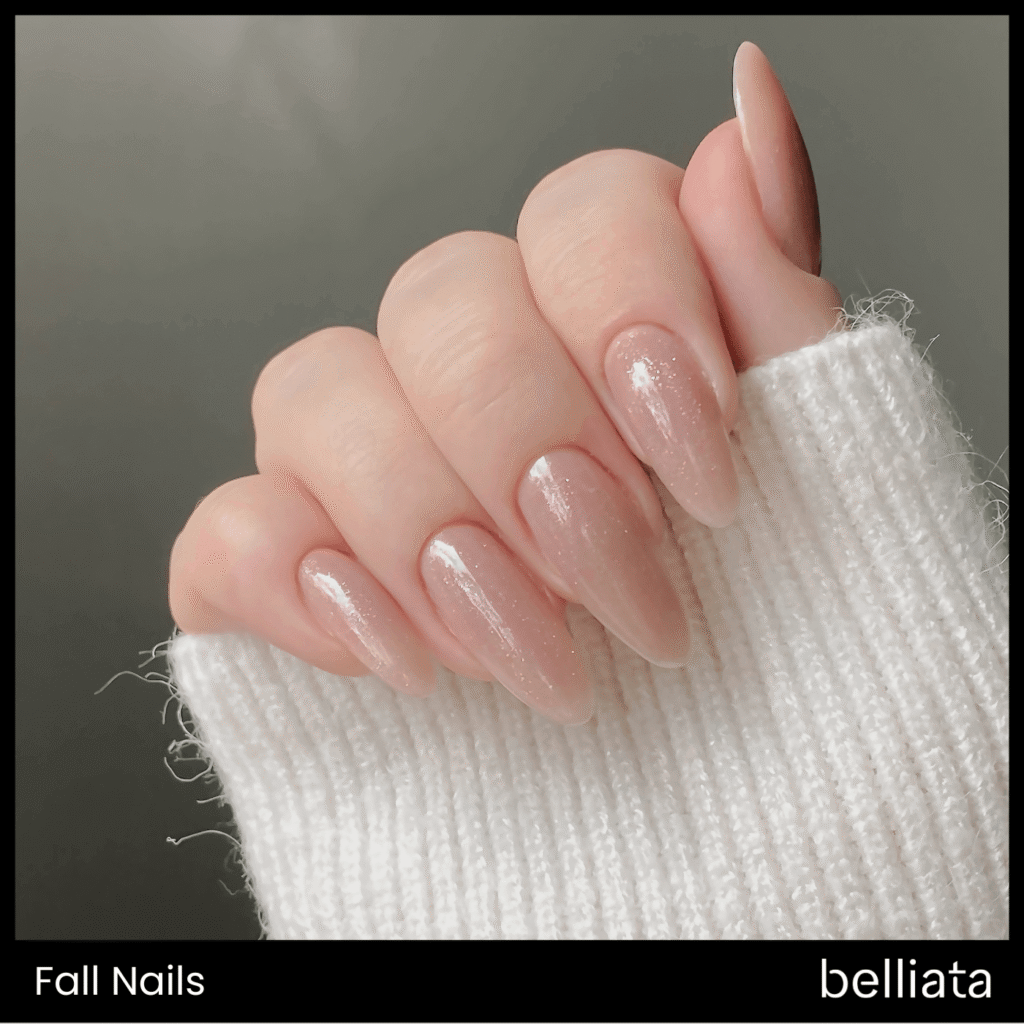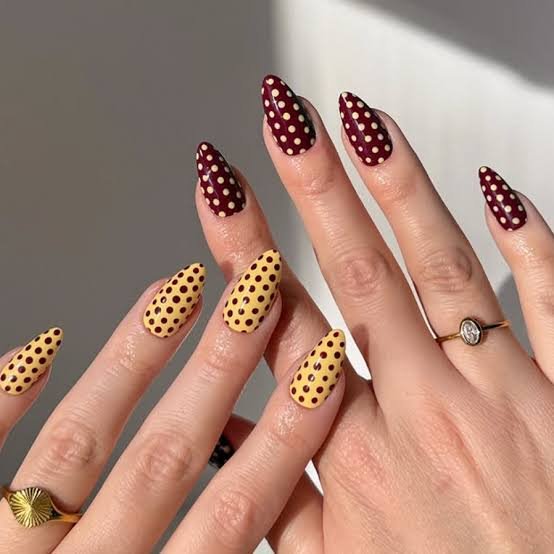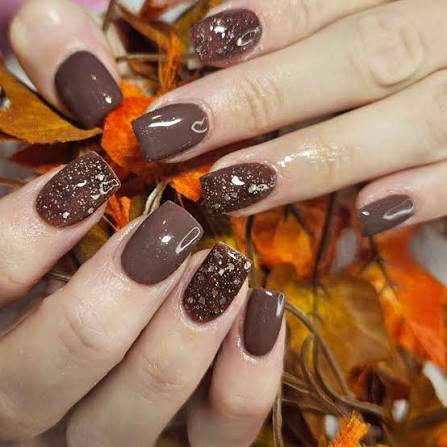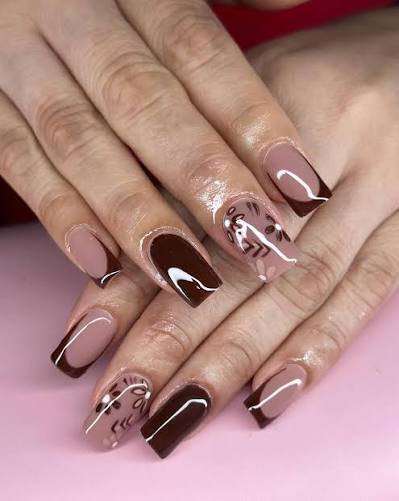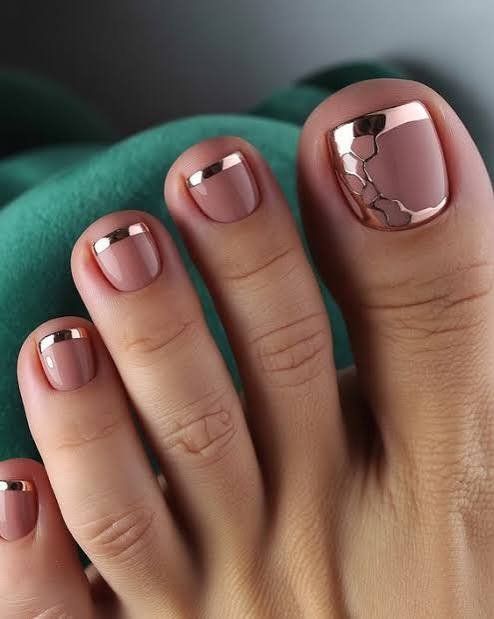
Short nails get left out of fall nail season way too often. Every roundup online shows long almond tips dripping in chrome, and you’re sitting there with your practical, gets-through-the-day nails wondering if fall even wants you.
It does. 🍂
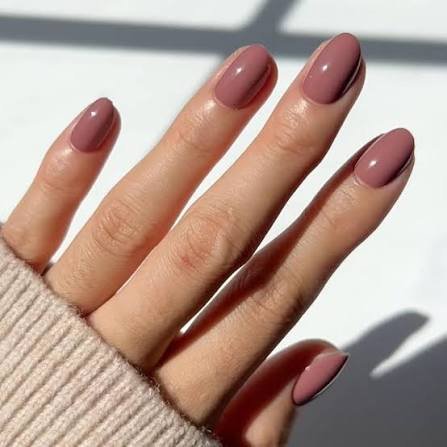
Short nails hold polish longer, chip less, and honestly wear a moody fall shade better than long tips ever could. Less surface area means every color reads deeper and richer.
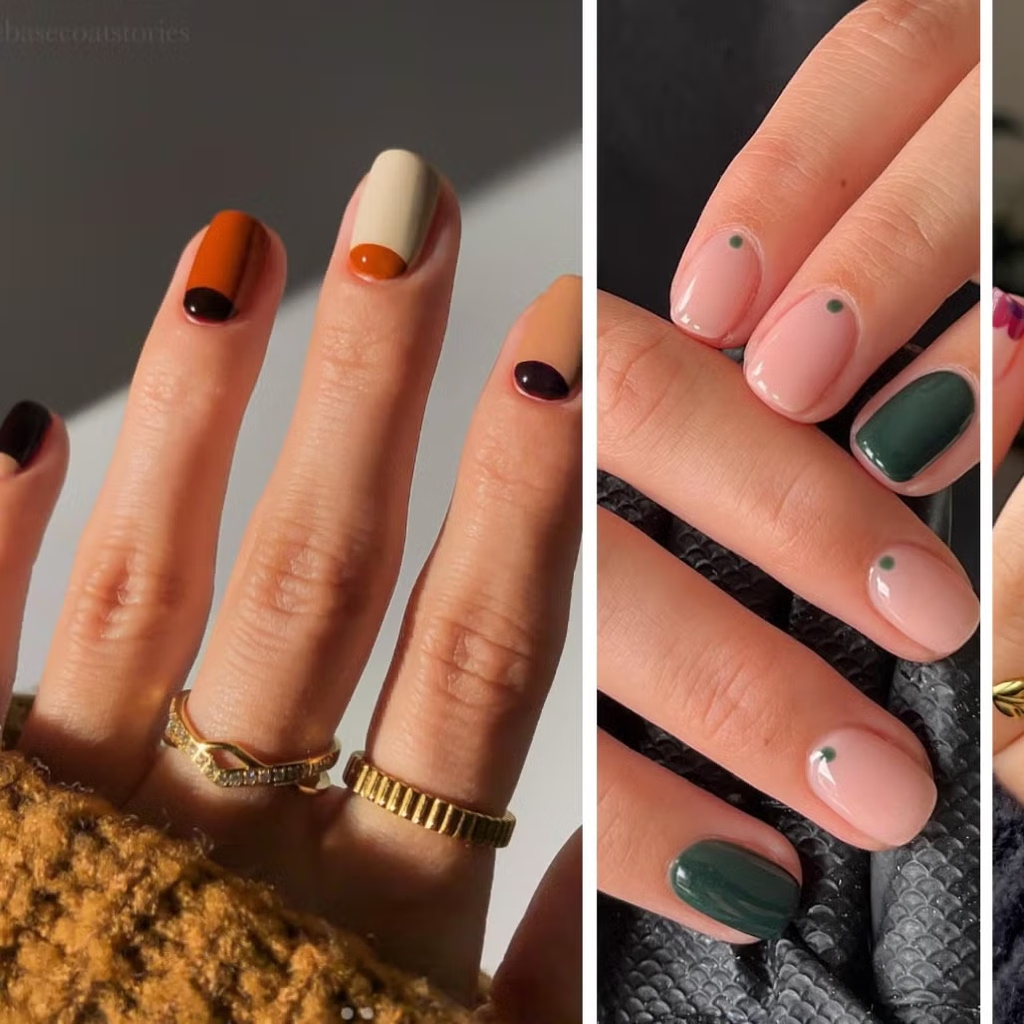
Today I’m walking you through a warm, terracotta-and-burgundy short nail look you can do at your kitchen table. No salon. No gel lamp required unless you want one.
Grab a coffee. Let’s get into it.
What You’ll Need
Products
- Cuticle oil
- Nail file (fine grit, 180/240)
- Buffer block
- Base coat
- A warm terracotta or rust polish (this is your main shade)
- A deep burgundy or oxblood polish (for the accent nail)
- Fine detail nail art brush or a bobby pin (yes, really)
- Gold or copper fine-glitter polish (optional accent)
- Fast-drying top coat
- Rubbing alcohol and a lint-free wipe
Tools
- Cuticle pusher
- Small dotting tool (or a bobby pin bent at the tip)
- Nail clippers
- Small polish palette or an old CD to mix colors on
Prep and Patch-Test Tips
If you’re using a new polish brand for the first time, patch test it. Dab a small amount on your inner arm and wait 24 hours before putting it near your nails.
This matters most for people with sensitive skin or a history of reacting to formaldehyde, toluene, or DBP, which are still found in some budget polishes.
Beyond that, prep is simple:
- Remove any old polish completely.
- Shape your nails with a file, moving in one direction only.
- Push back cuticles gently. Never cut them unless you’re trained to.
- Buff the nail surface lightly to remove shine.
- Wipe each nail with rubbing alcohol to strip oils.
That last step gets skipped constantly, and it’s the reason polish peels off by day two.
Substitutions and Alternatives
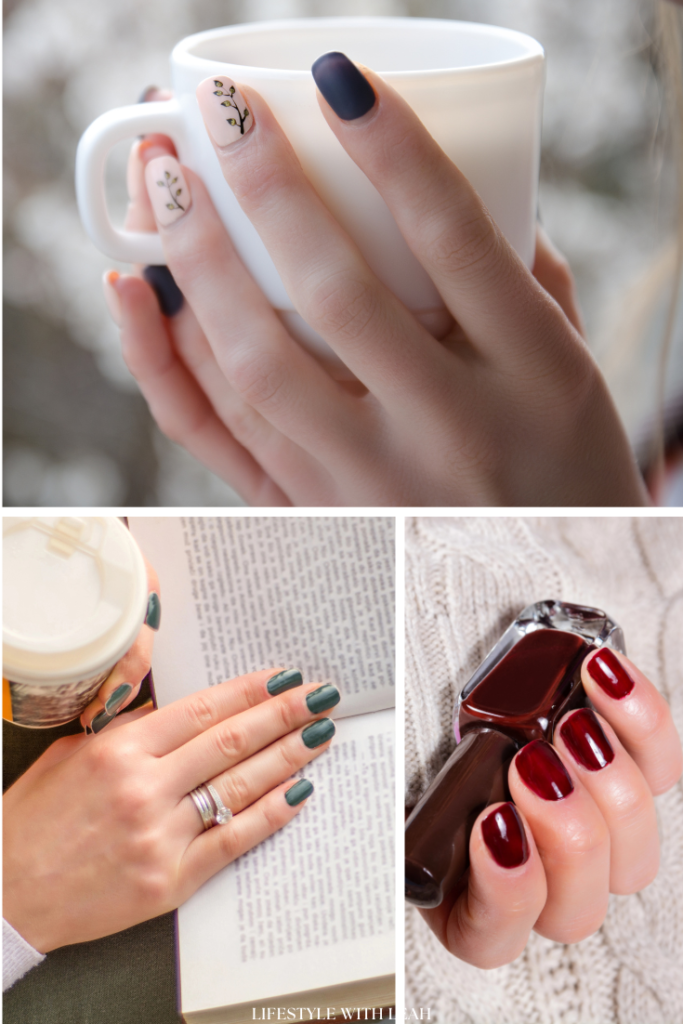
Your skin, your budget, your rules. Here’s how to adjust:
| Situation | Swap |
|---|---|
| Oily nail beds | Add an extra alcohol wipe before base coat |
| Dry, brittle nails | Use a strengthening base coat instead of a regular one |
| No detail brush | A toothpick or bobby pin works for dots and lines |
| Sensitive to strong polish smell | Look for “5-free” or “10-free” formulas |
| Tight budget | Drugstore terracotta and burgundy shades perform almost identically to high-end ones |
| No gold glitter polish | Mix a drop of gold eyeshadow pigment into clear top coat |
Step-by-Step Instructions
Step 1: Start with a clean base coat. Apply one thin layer to all ten nails. Let it dry fully for about a minute before moving on.
Step 2: Paint your main color. Apply the terracotta shade in two thin coats to eight of your ten nails, leaving your two ring fingers bare for the accent design. Thin coats dry faster and last longer than one thick one.
Step 3: Paint the accent nails. Cover both ring fingers in the burgundy shade. Two coats, letting each dry for about 90 seconds in between.
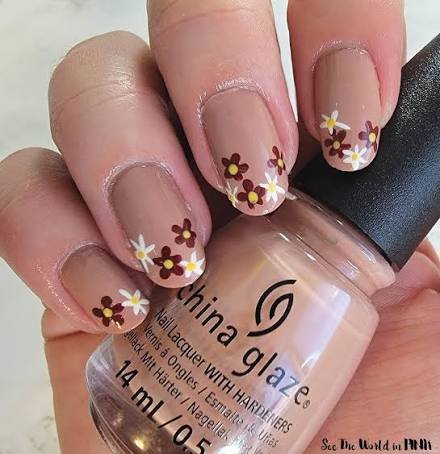
Step 4: Add the dot detail. Once the burgundy has dried, dip your dotting tool (or bobby pin) into the gold glitter polish. Place three small dots in a diagonal line near the base of each ring finger.
Step 5: Clean up the edges. Dip a small brush in rubbing alcohol and gently trace along your cuticle line and nail edges to clean up any smudges.
Step 6: Seal it with top coat. Apply a fast-drying top coat to all ten nails. This is what makes your manicure survive dish duty, laptop typing, and everything else your hands do in a day.
Step 7: Finish with cuticle oil. Massage a small drop into each cuticle. This step is skippable, but your nails will thank you by day three.
Pro Tips
- Thin coats always win. Two thin coats dry faster and last longer than one thick coat that stays tacky for hours.
- Cap the tip. Swipe your brush over the very tip edge of each nail with every coat. This single move is what keeps polish from chipping first at the tip.
- Chill your hands before top coat. Cold air (even a few seconds near an open freezer) helps polish set faster and harder.
- Do your dominant hand last. Your non-dominant hand always looks messier at first. Get the practice in before tackling the hand you actually write and text with.
- Keep a tiny bottle of remover on hand. Small mistakes are easy to clean up mid-manicure if you catch them fast.
Storage and Shelf Life
Polish doesn’t last forever, and knowing when to toss it saves you from a gloopy manicure disaster.
| Product | Shelf Life | Storage Tip |
|---|---|---|
| Regular nail polish | 1 to 2 years unopened, 6 to 12 months once opened | Store upright, away from direct sunlight and heat |
| Base and top coat | 6 to 12 months | Keep cap tightly closed after each use |
| Cuticle oil | 1 to 2 years | Store in a cool, dry spot |
| Glitter polish | 1 to 2 years | Roll gently between hands before use instead of shaking |
If your polish has gone thick and gloopy, a couple drops of polish thinner (not nail polish remover) can bring it back to life once or twice before it’s truly done.
FAQ
How long will this manicure actually last on short nails?
With a proper base and top coat, expect 5 to 7 days before noticeable chipping, longer if you avoid hot dishwater without gloves.
Can I do this with gel polish instead?
Yes. Swap in a gel base, gel colors, and gel top coat, curing under a UV or LED lamp between each layer.
My nails are very short. Will the dot design even show up?
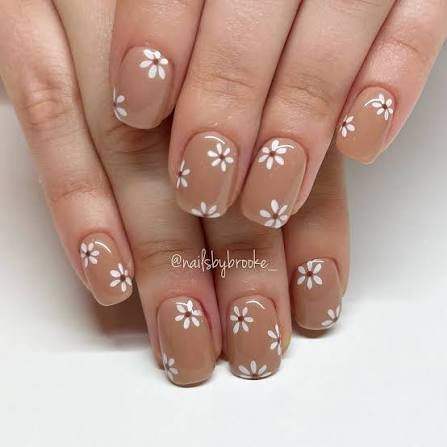
It will. Keep the dots small and close to the cuticle line so they don’t get lost on a smaller nail surface.
What if I don’t have a steady hand for the dots?
Try a simple half-moon at the base instead, using tape as a guide, or skip the accent design entirely and do all ten nails in the terracotta shade.
Is terracotta and burgundy too dark for my skin tone?
These two shades work across a wide range of skin tones because they lean warm. If you want something lighter, a dusty rose or warm caramel gives the same fall feeling with less intensity.
Wrapping Up
Short nails deserve fall just as much as long ones do, and this look proves it in under 30 minutes.
Terracotta, burgundy, and a few gold dots are enough to make your hands feel like they caught up with the season.
Try it this weekend and drop a comment letting me know how it turned out. I want to know which shade combo you went with, and if you ran into any tricky spots doing the dot detail, ask away below.

Hi, I’m Emily Carter
I’m the owner and writer behind SmartBeautyTip.com, where I share beauty ideas, nail inspiration, skincare tips, and the latest trends worth trying.
I love finding simple, stylish beauty ideas and turning them into practical tips you can actually use. My goal is to help you discover easy beauty inspiration that makes you feel confident and excited to try something new.
Beauty should be simple, fun, and uniquely yours.